
This post may contain affiliate links. Please read our disclosure policy.
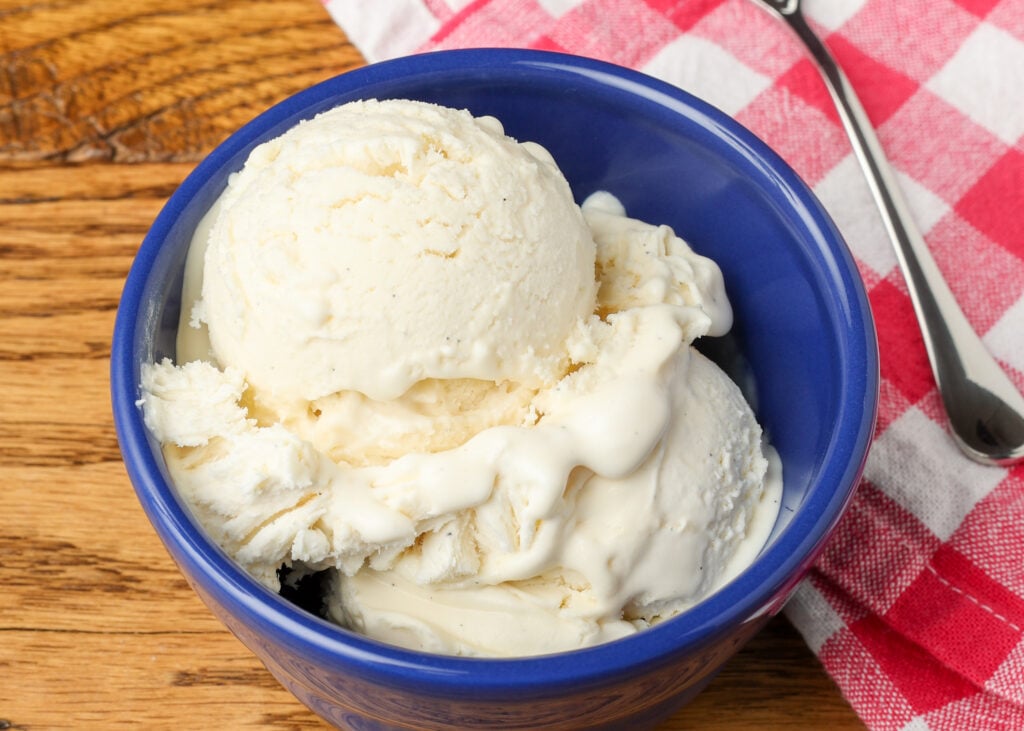
Did you know you can mix up rich, creamy vanilla ice cream with just four ingredients in about fifteen minutes? No ice cream maker is required for this No Churn Ice Cream. Let the freezer do the heavy lifting, and life gets a whole lot easier.
I have some pretty wonderful childhood memories of my grandfather cranking the handle on a giant bucket full of salt and ice to make ice cream. And, my family still churns ice cream that way every summer. But, this no churn ice cream recipe makes it so much faster. If you can whip cream, you can make ice cream. In fact, this is the method I use for all of the flavors on this site, including this glorious strawberry shortcake ice cream.
No Churn Ice Cream

Years ago, I made a dangerous discovery. Rich, creamy ice cream does not actually require an ice cream maker. You can make it a few different ways, actually! But, this is probably one of the easiest, because it uses a whipped cream shortcut.
Normally, air is churned into the base while in the machine. That’s what makes the texture so wonderfully smooth. But, this recipe uses heavy whipping cream and a hand mixer to race through that step. So, it only takes a fraction of the time to make. In my world we call that trouble. Delicious trouble.

Ingredients and Substitutions
Heavy Cream – You need the real deal here. You aren’t going to get the desired airy, creamy texture without it.
Sweetened Condensed Milk – I use this to sweeten the base. Don’t misread the label and add evaporated milk. You’ll regret it.
Vanilla – I’m generous with the vanilla because it’s the dominant flavor in this ice cream. Let it shine.
Salt – I use kosher salt in all my recipes, unless otherwise noted. This ice cream isn’t salty, but it does help enhance the other flavors.
Notes on Equipment
- Two mixing bowls. I’ve been using these bowls daily for the last 8 years and they’re still going strong. I have a borderline absurd number of them. It’s a thing.
- A hand mixer or stand mixer
- A whisk
- A flexible spatula. Picture the best parts of a spatula and a spoon. Now combine them into one tool. This is that tool, in silicone that absolutely nothing sticks to. As far as I’m concerned, it’s perfect.
- A freezer-safe container with a lid, or a basic metal pan
How to Make No Churn Ice Cream
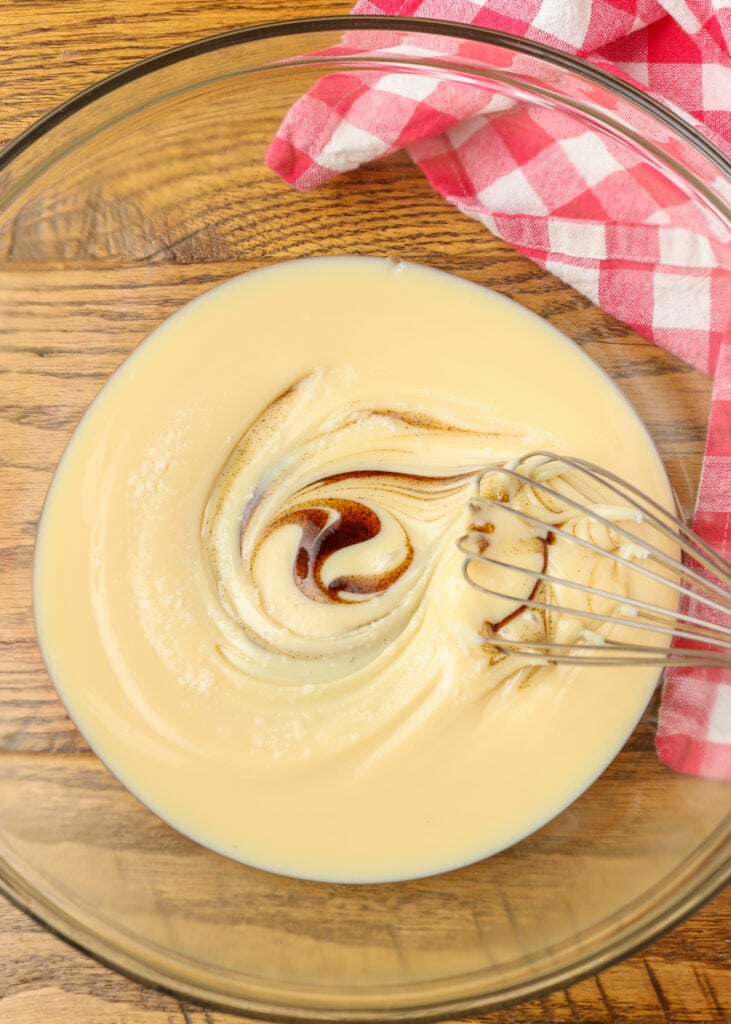
Whisking the Base: In one bowl, I start by whisking together the condensed milk, vanilla, and salt until smooth. This takes about a minute, maybe less.
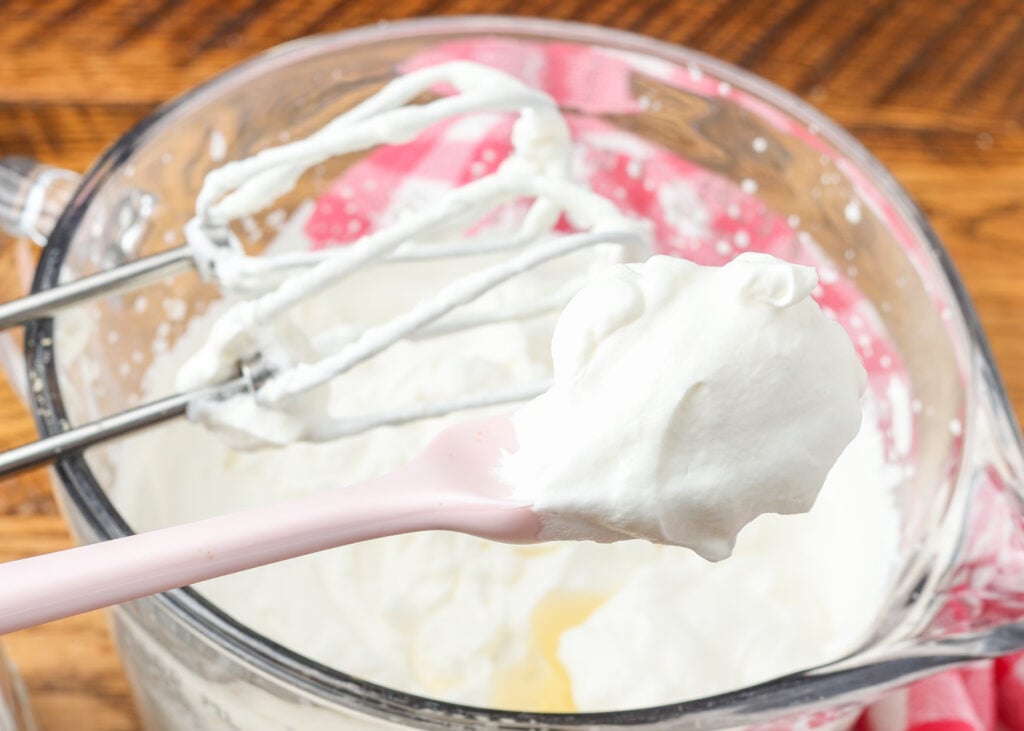
Whipping the Cream: In a separate bowl, beat the heavy cream with an electric mixer until stiff peaks form. You can stop when the peaks stand at attention as you lift the beaters, instead of flopping over.
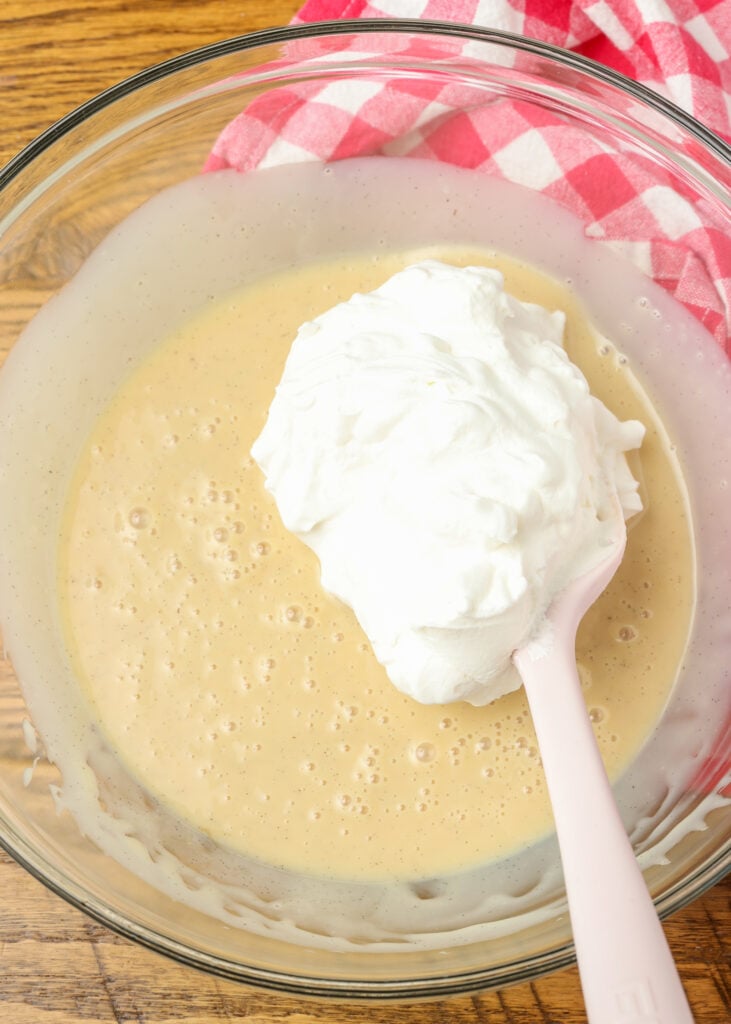
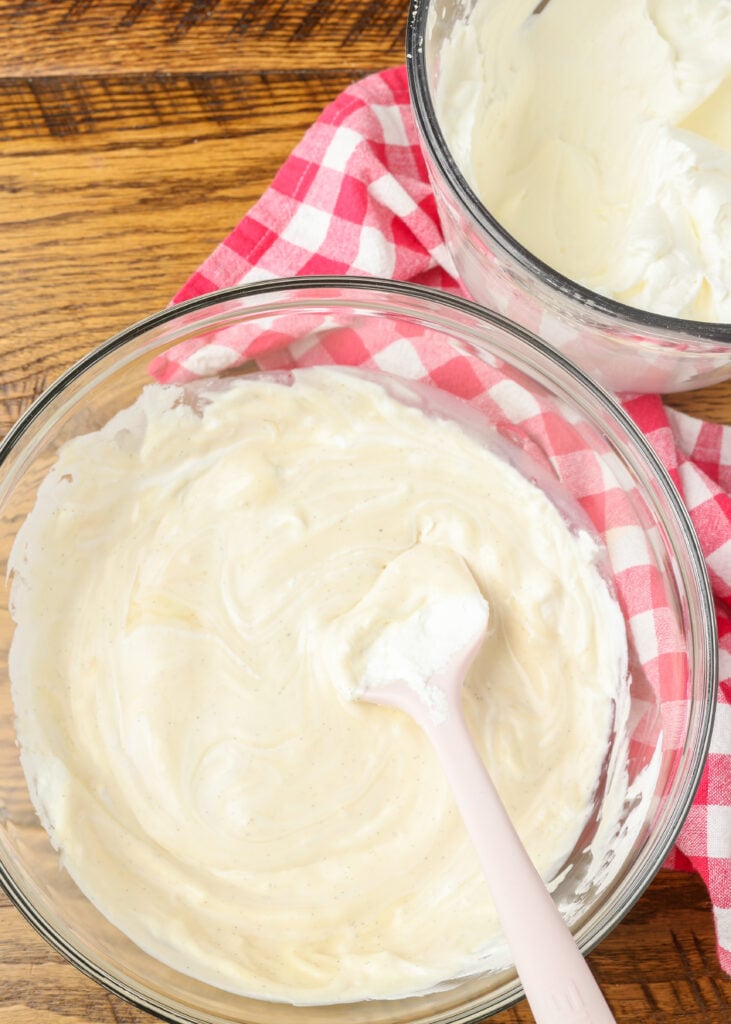
Lightening the Base: Scoop half of the whipped cream into the condensed milk mixture and fold it in gently.
Folding in the Rest: Now we’re going to add the remaining whipped cream and fold it in until no streaks remain. Slow and gentle wins the race.
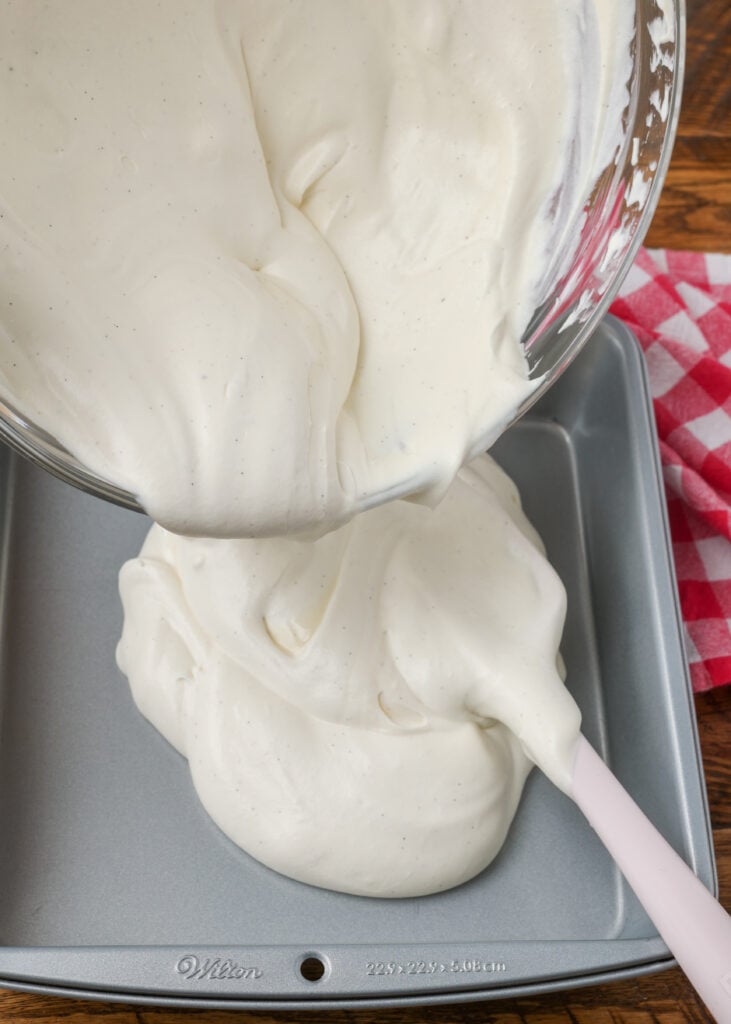
Transferring: I transfer the mixture into a freezer-safe container, and smooth out the top.
Freezing: The hardest part of this recipe for no churn ice cream is the wait. Give it at least six hours, until it’s firm and scoopable. You can add any desired mix-ins at the two hour mark.
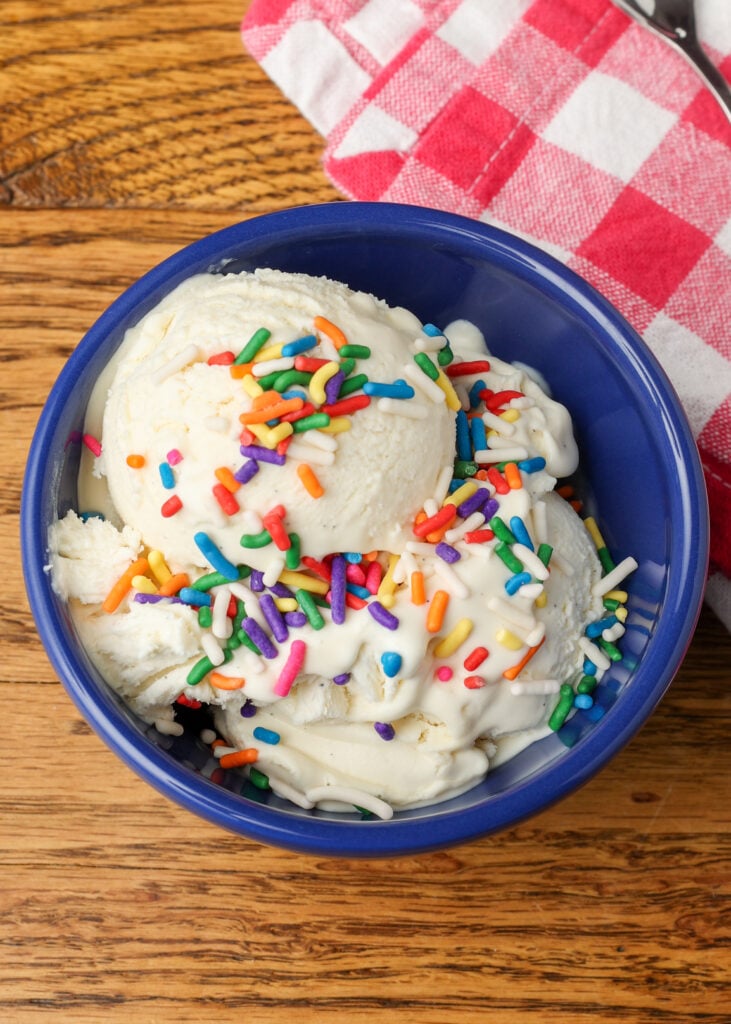
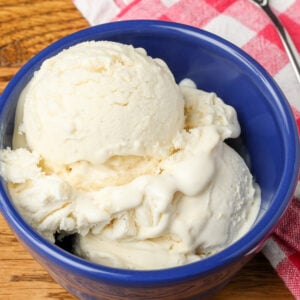
Serving: If it’s been in the freezer longer than a day, I let the container sit on the counter for a few minutes before scooping. Then grab a bowl, or skip the bowl entirely. I won’t tell.
Expert Tip
Everything about this method rides on the whipped cream. The air you beat into it is the shortcut for the job that an ice cream machine would normally do. So, the mission is simple. Build it up and then protect it!
Cold Cream – Heavy cream whips fastest and fluffiest when it is cold, cold, cold. Don’t leave it out while you measure everything else. You want to use this straight from the refrigerator, or it will fight you on the way to stiff peaks.
A Gentle Hand – Ever wondered what it means to “fold” something in? This is a special way of stirring, which uses the spatula to cut down through the middle, sweep along the bottom, and turning the bowl as you go. Stirring in circles can knock the air out of delicate mixtures like this. Folding helps protect the structure.
Metal Freezes Faster – Ever notice that food in a metal container freezes faster than food in a plastic or glass container? You’re not making it up! A metal loaf pan is a thermal conductor (which makes it great for rapidly freezing ice cream), while plastic and glass actually serve as insulators, slowing the process down.
Serving Suggestions
Vanilla ice cream might be the most frequently made dessert in my kitchen, because it makes everything it lands on that much better. A scoop of this no churn ice cream, melting over a warm chocolate cobbler is about as good as dessert gets. Warm, gooey chocolate, cold vanilla, one spoon. Heaven.
And don’t think I’m overlooking the qualities that a scoop of this brings to a slice of pie. This is the ice cream I want riding atop my mock apple pie or this apple streusel pie. Warm pie with cold ice cream won’t let you down!
Make Ahead & Storage
Make Ahead: Ice cream is by definition a make ahead recipe. The batch needs at least six hours in the freezer, so I like to stir it together the morning before I need it and let the freezer do its thing through the day.
How to Store: Keep the ice cream tightly covered in its container and it will be at its best for about a month. But, good luck on it actually remaining uneaten for that amount of time.
More Easy Ice Cream Recipes
- No Churn Mint Chocolate Chip Ice Cream
- No Churn Peppermint Ice Cream
- Caramel Pumpkin Crunch Ice Cream
- Raspberry White Chocolate Ice Cream
Yes, indeed. This one doubles like a dream, if you have a giant mixing bowl. You can also whip the cream in batches and pop it into the fridge, then fold it all together in one go. I do recommend freezing it in two containers, so it firms up just as fast.
Almost anything. Crushed cookies, chopped chocolate, ribbons of jam or caramel, crushed candy. Just wait until the ice cream has spent a couple hours in the freezer before mixing them in. And, limit any additions to about a cup in volume so the base stays plenty creamy around them.
Yes, but with a caveat. It will still whip, but the lower fat content is going to result in a softer set. You’ll notice that each scoop is a little less creamy. So, if you have the choice, heavy whipping cream is worth it.
No Churn Ice Cream
Ingredients
- 14 ounces sweetened condensed milk NOT evaporated milk
- 2 teaspoons vanilla extract
- ⅛ teaspoon kosher salt
- 2 cups heavy whipping cream
Instructions
- In a large mixing bowl, whisk together the condensed milk, vanilla, and salt. In a separate bowl, with an electric mixer, beat the heavy cream until stiff peaks form.
- Scoop half of the whipped cream mixture into the bowl with the condensed milk and gently fold it in. When it is well combined, add the remaining whipped cream and fold it in completely.
- Transfer the mixture to a freezer-safe container and freeze until firm, at least 6 hours. (If desired, after a couple of hours, swirl in any desired mix-ins. Then allow the mixture to continue freezing until firm and scoop-able.)
Nutrition
Nutrition information is automatically calculated, so should only be used as an approximation.


