
This post may contain affiliate links. Please read our disclosure policy.
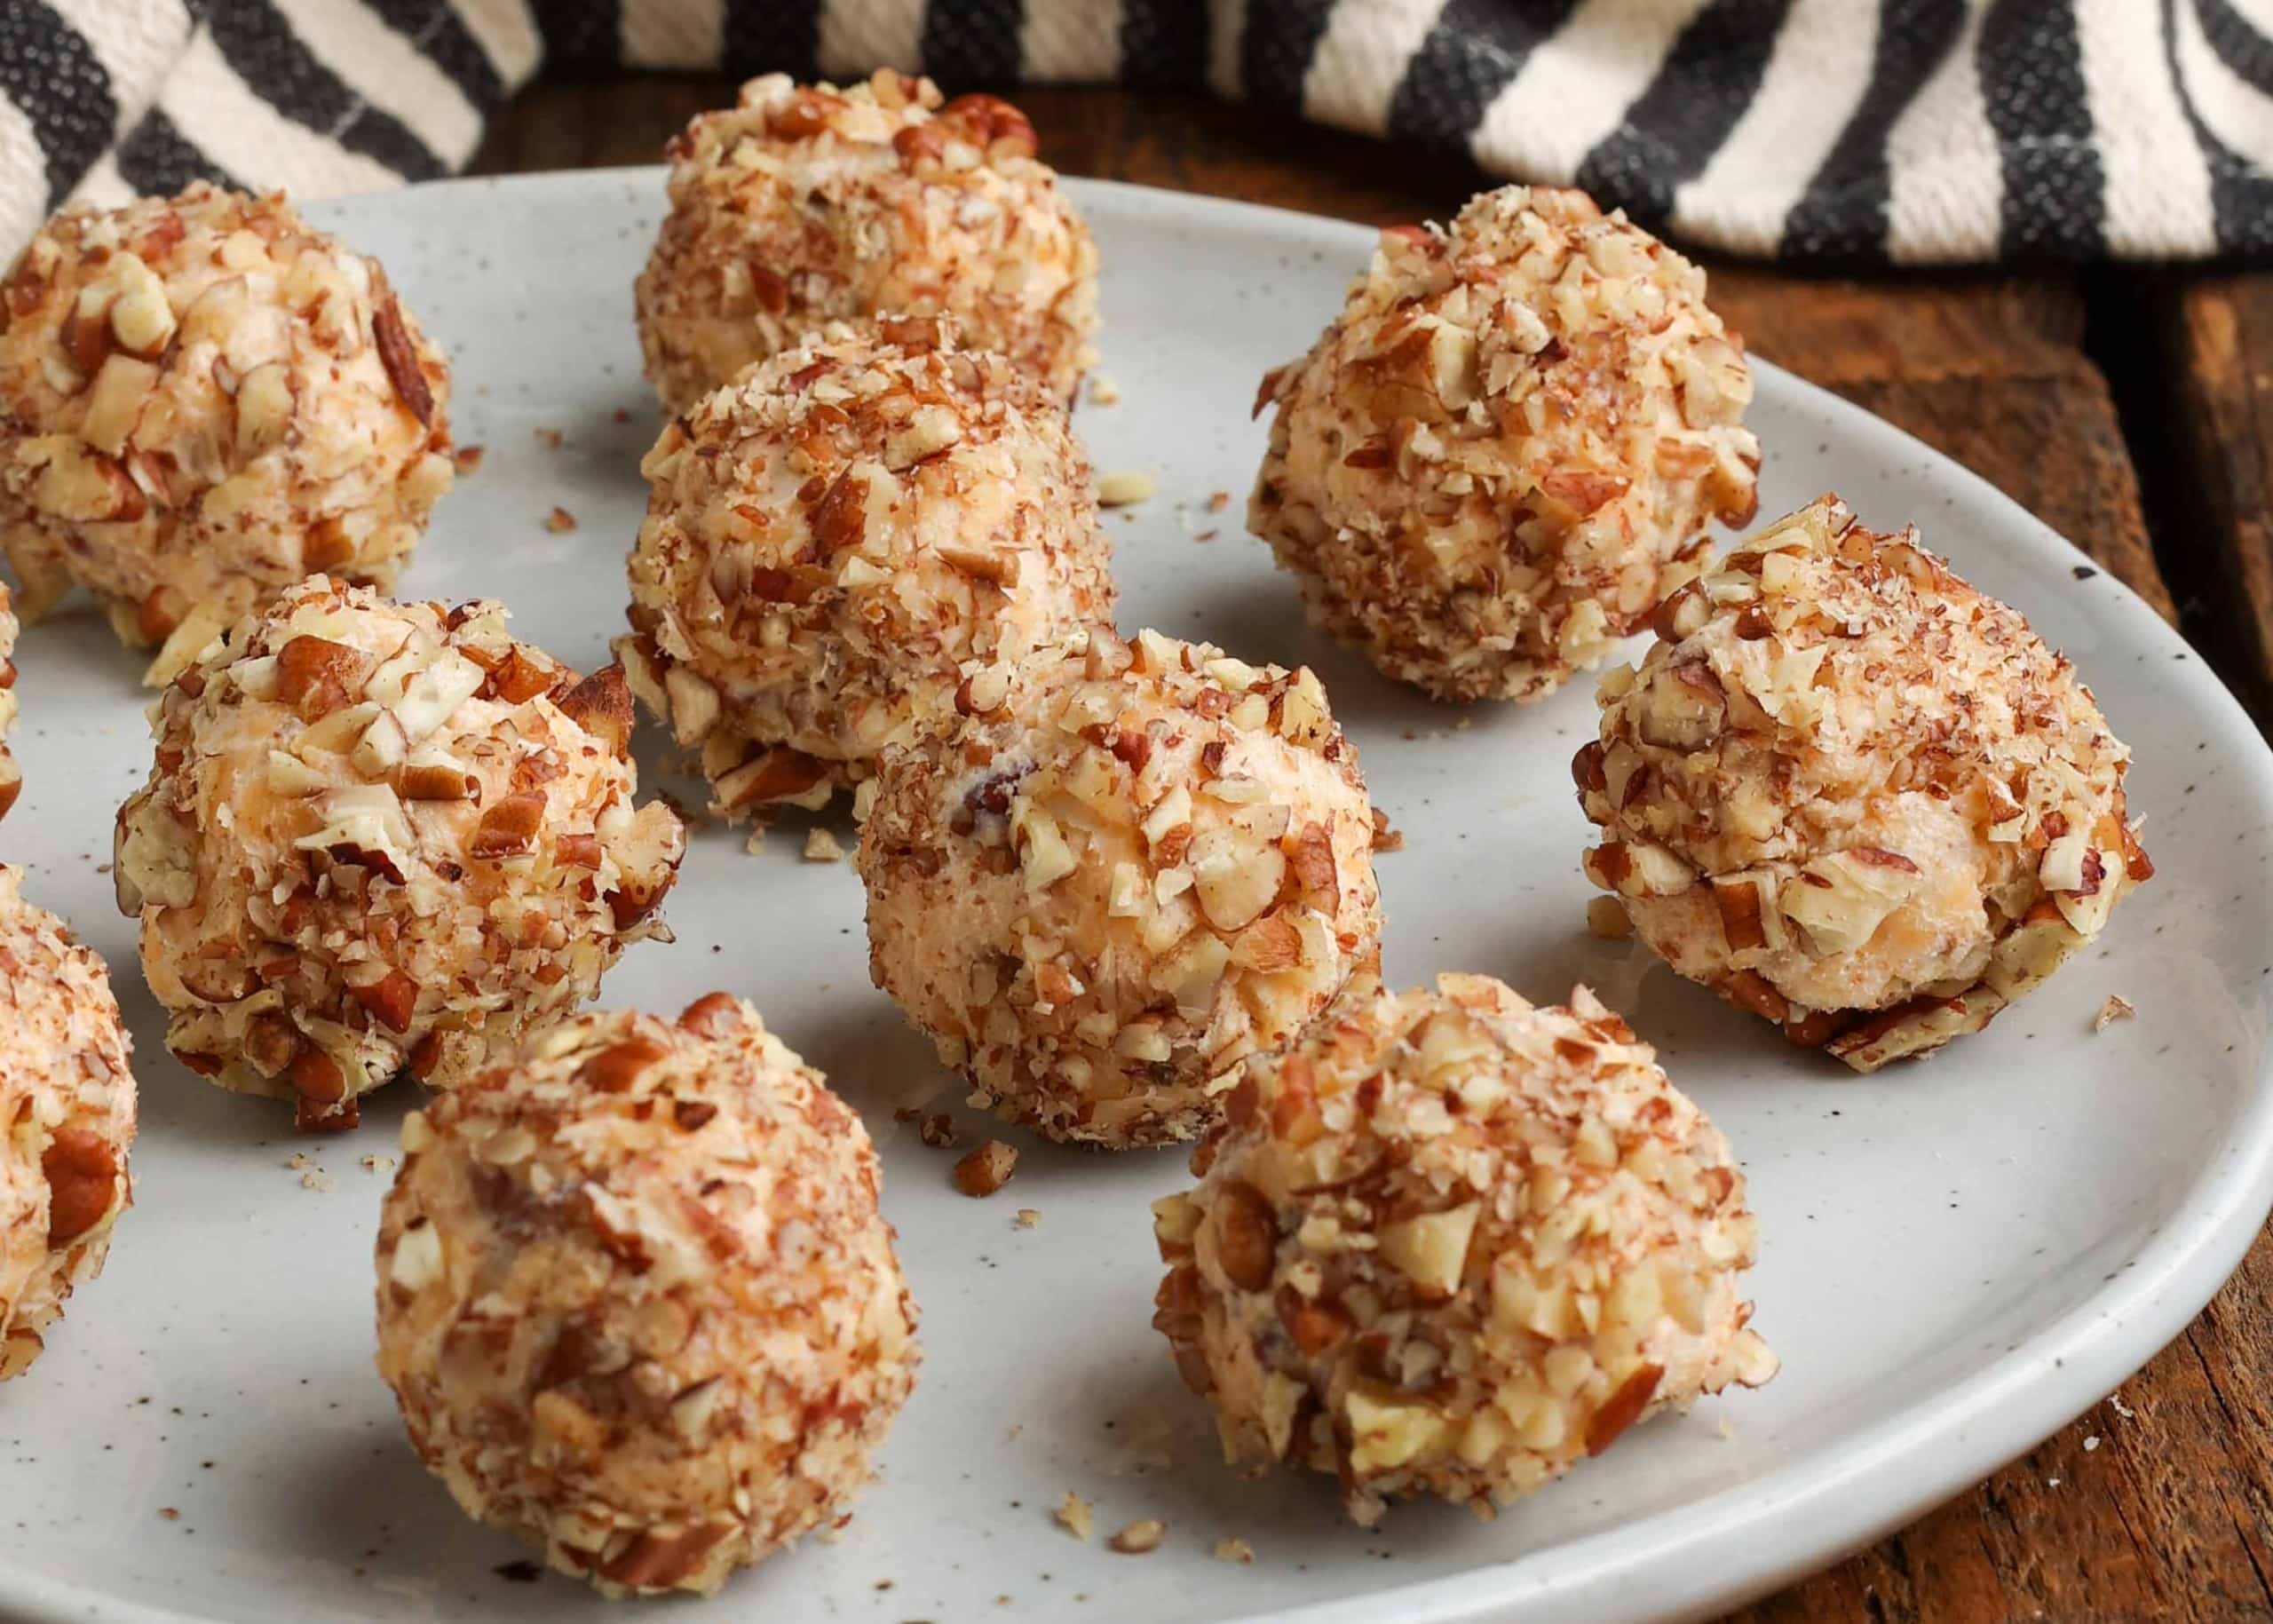
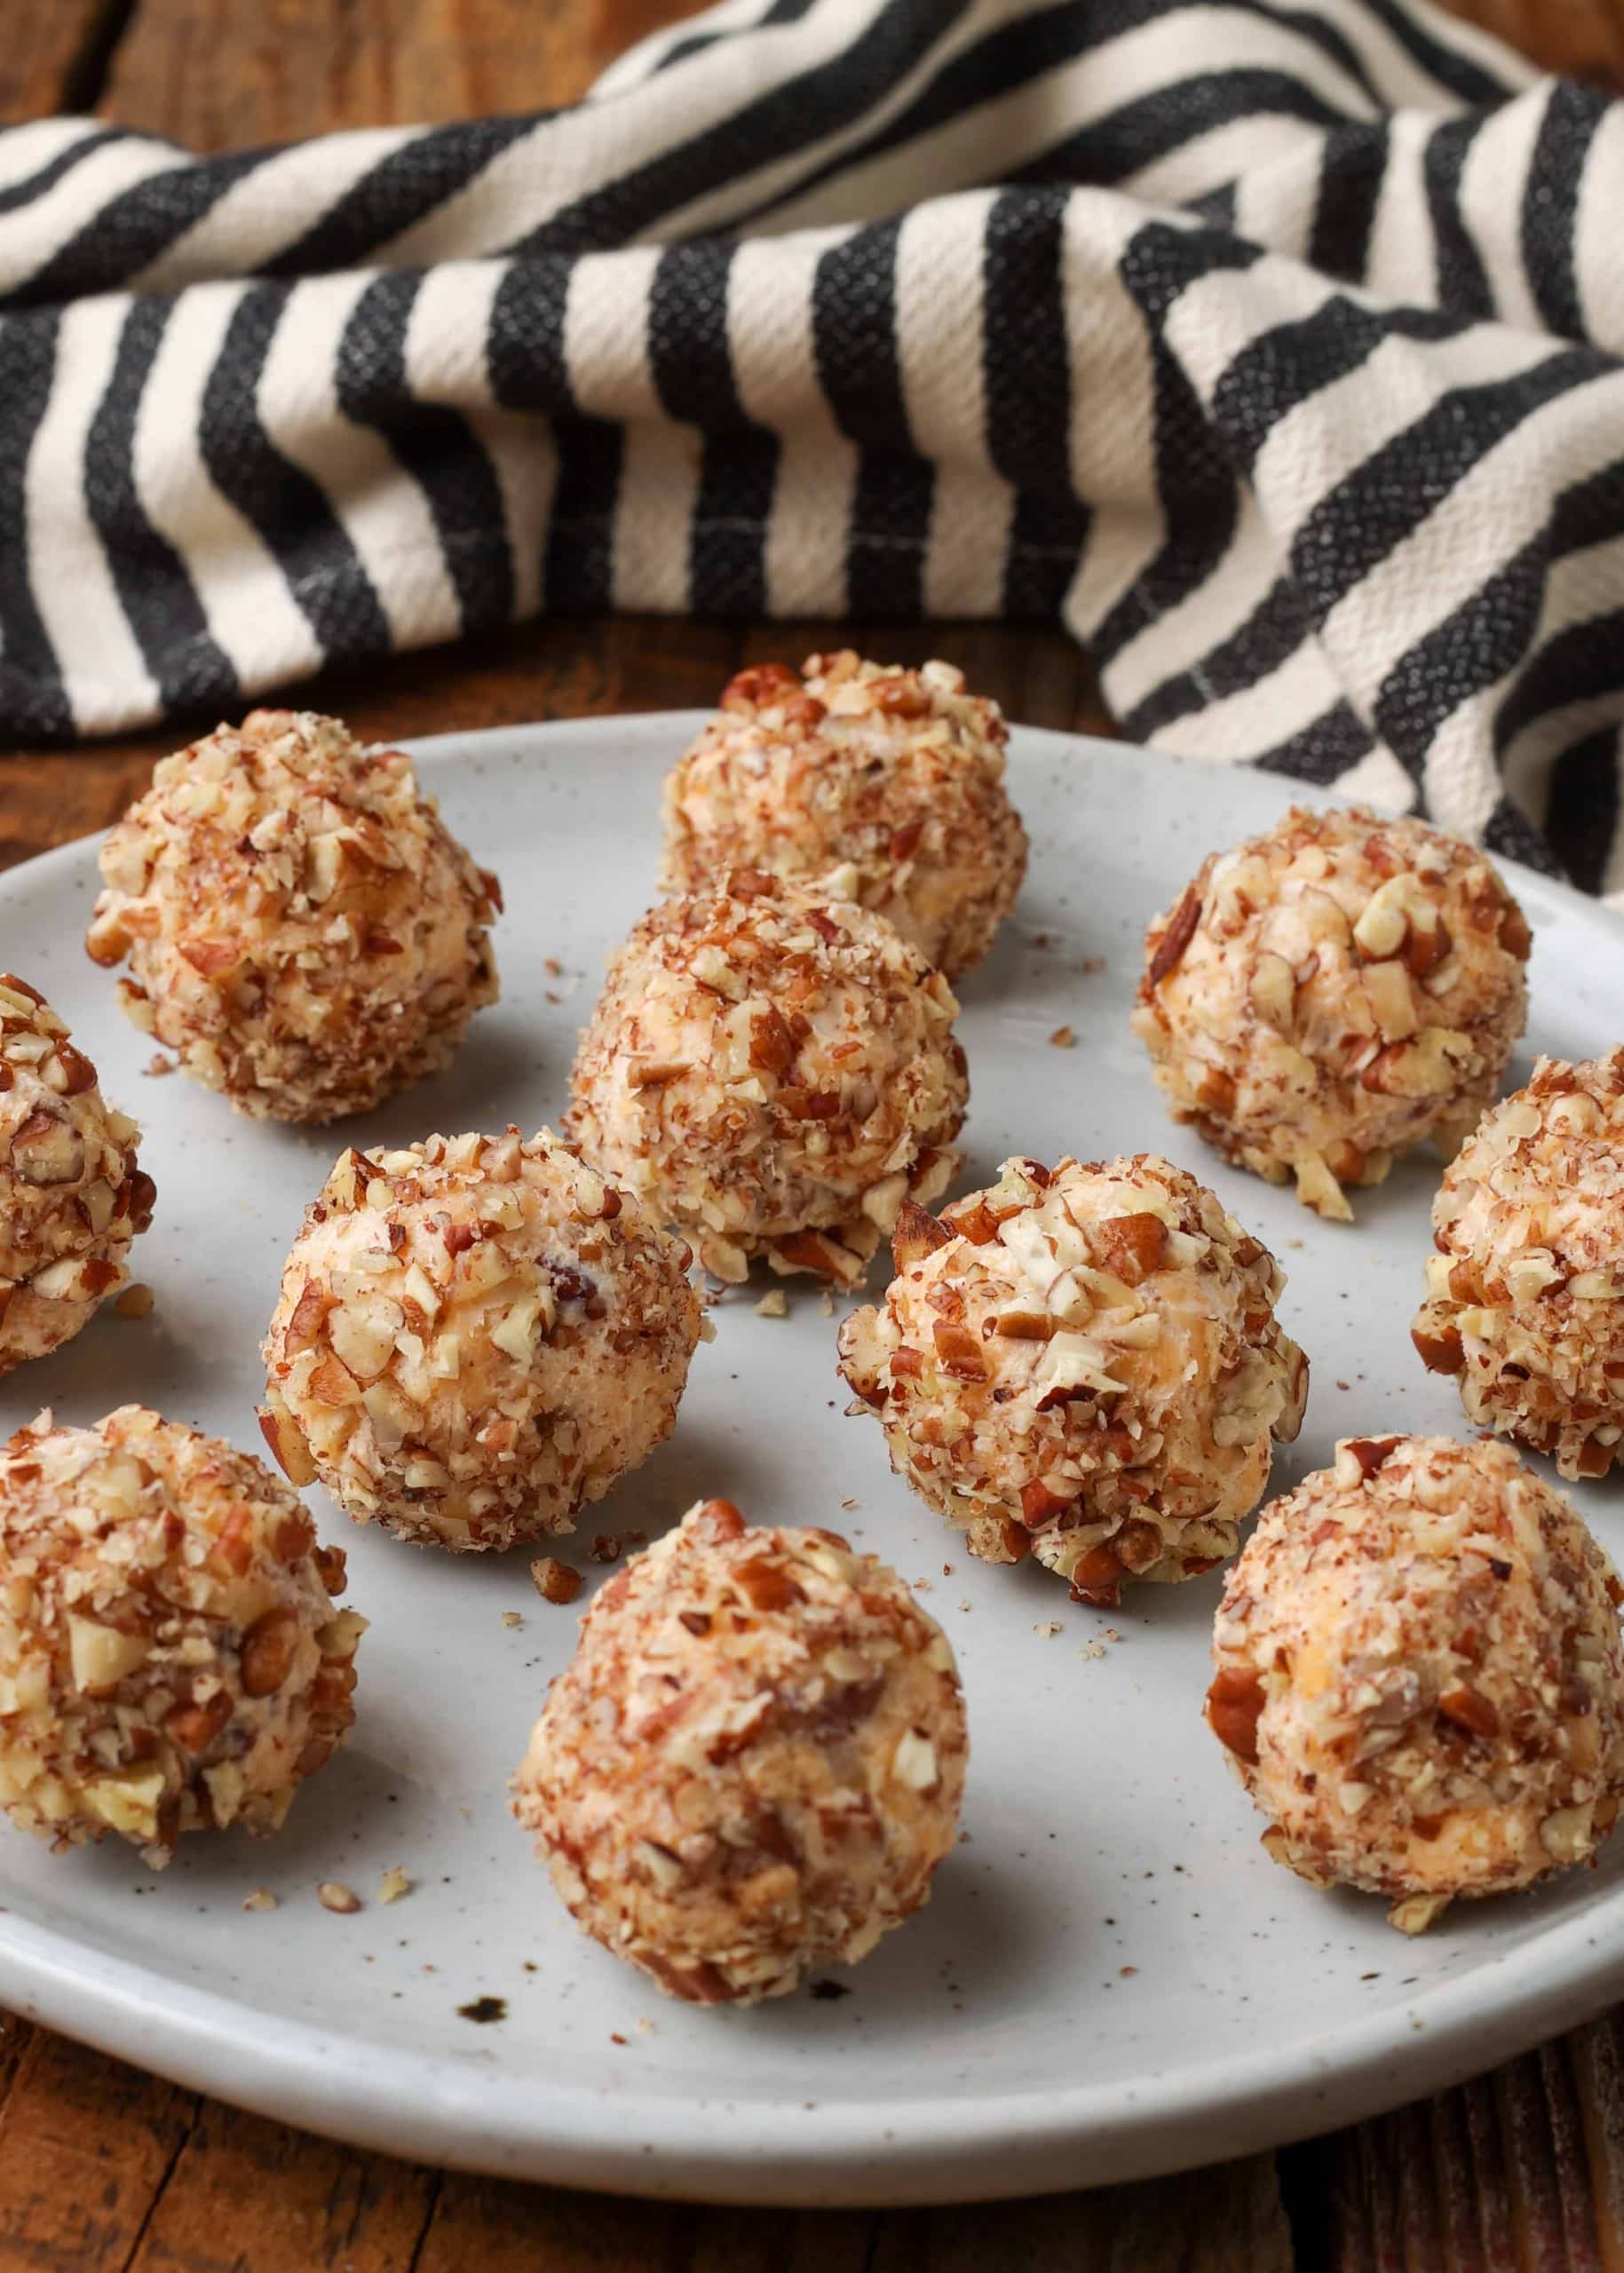
Creamy, nutty, and just a little bit salty, these tempting Mini Cheese Balls are a guaranteed hit. Even after making them so many times, I still can’t decide what’s better. The irresistible taste or the ease of making them. Either way, you’ll find yourself making them often!
Is there any move that’s better than cheese, when it comes to parties? Obviously, not. I may be biased, but I love making cheese the star in all of its forms, from bite sized mini balls like these, to the gooey goodness of my layered taco dip. But, miniature cheese balls are more than just a pretty face for the buffet table! These tasty morsels are fabulous for everything from charcuterie boards to a casual afternoon snack.
Mini Cheese Balls

I have so many wonderful memories of the holidays at my grandmother’s house. As a child, those events were magical, with such delicious food. And, she always prepared a large cheese ball, setting it on an elegant platter surrounded by various crackers. This mini cheese balls recipe is an homage to the legacy she has left us grandkids. So, enjoy one for her!
These miniature cheese balls are a fun twist on the larger cheese balls that I’ve made in the past. Everyone gets their own cheese ball, so there’s no need for knives or cutting. And, if you’ve ever cringed at a pair of tiny hands double dipping into a communal appetizer, this is an easy solution. Double dip away, my littles! It’s all yours, anyway.

I like to add chopped green onions and 2 tbsp of Worcestershire. Adds so much flavor too!
Ingredients and Substitutions
The Cheeses – I use my grandma’s classic cheese ball combination with cream cheese and cheddar.
Nuts – I like to use pecans, almonds, walnuts or even a combination of them for this recipe.
Garlic – Garlic powder or granulated garlic can be used interchangeably in this recipe.
Notes on Equipment
- Mixing bowl
- Hand mixer or sturdy spoon
- Measuring cups and spoons
- Baking sheet or tray
How to Make Mini Cheese Balls
Preparing the Cheese: I begin by unwrapping my cream cheese and placing it in a mixing bowl. Then, I cover it and set it aside to soften. While the cheese softens, I grate the cheddar.
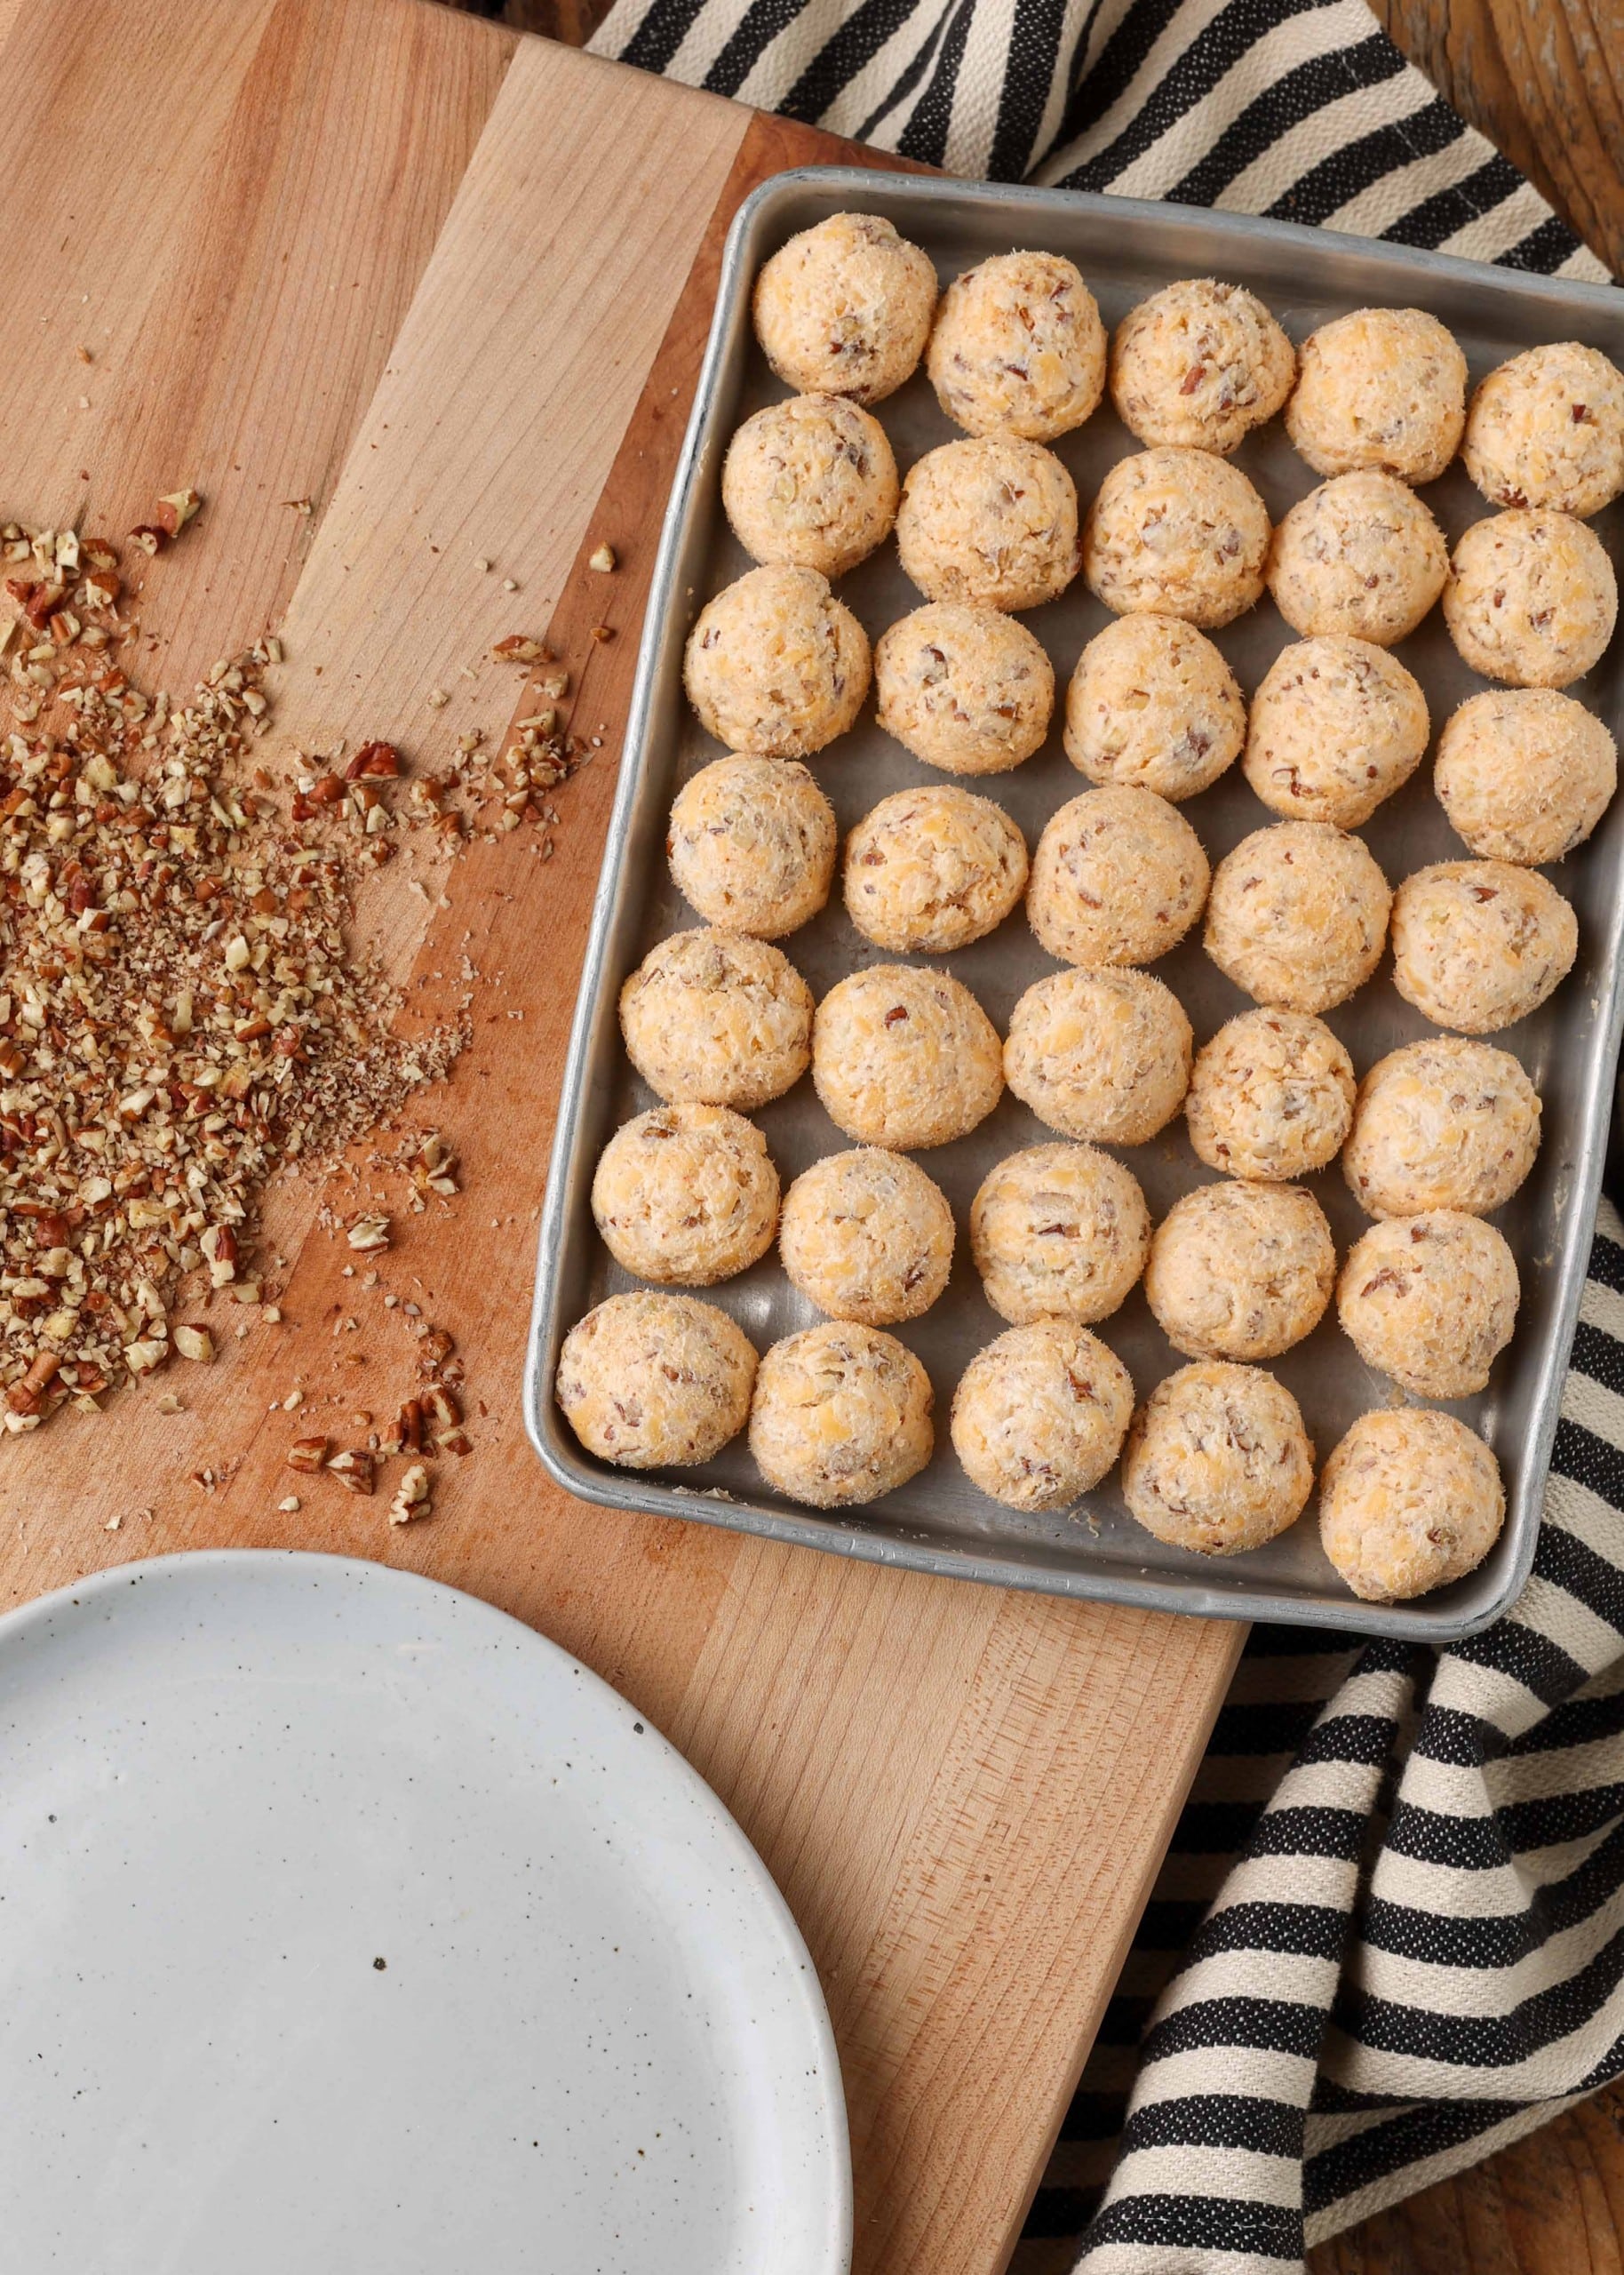
Chopping Nuts: You’ll need to chop the nuts into small enough pieces that they disperse evenly through the cheese mix, but not so finely that they’re powdery.
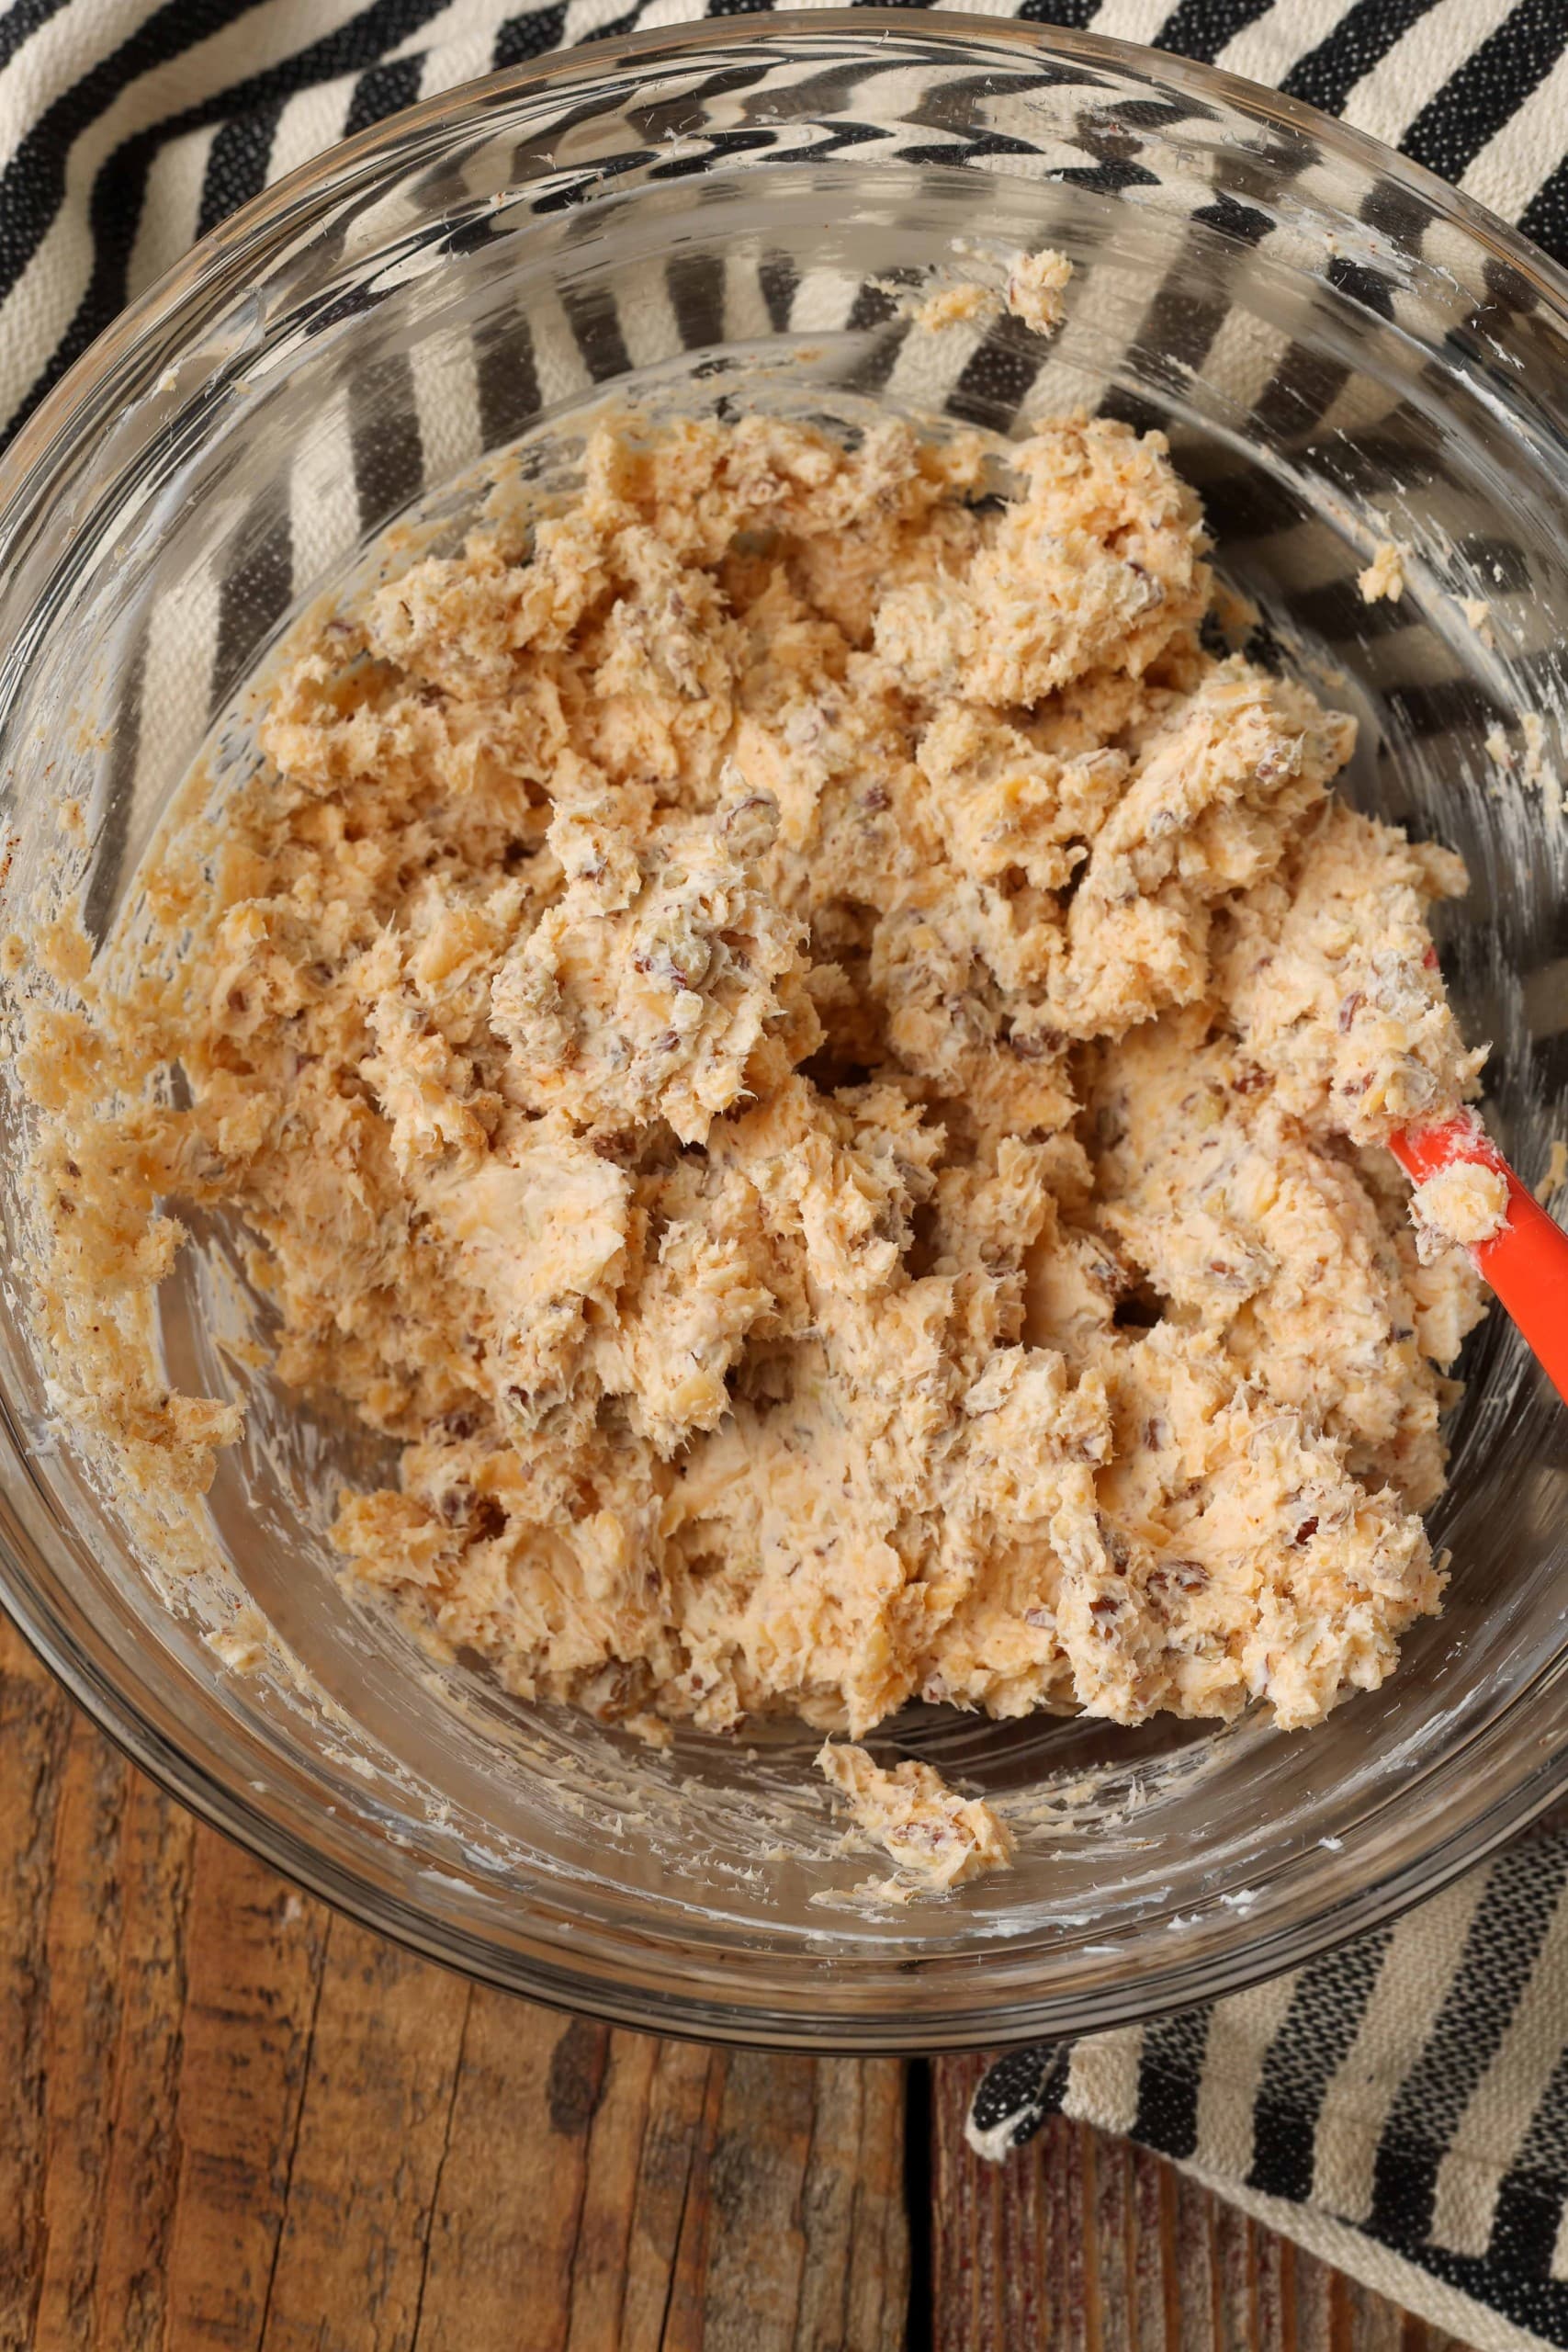
Mixing: Add the grated cheddar, half of the nuts, and the garlic powder to the cream cheese. Then, use a sturdy spoon or hand mixer to incorporate fully.
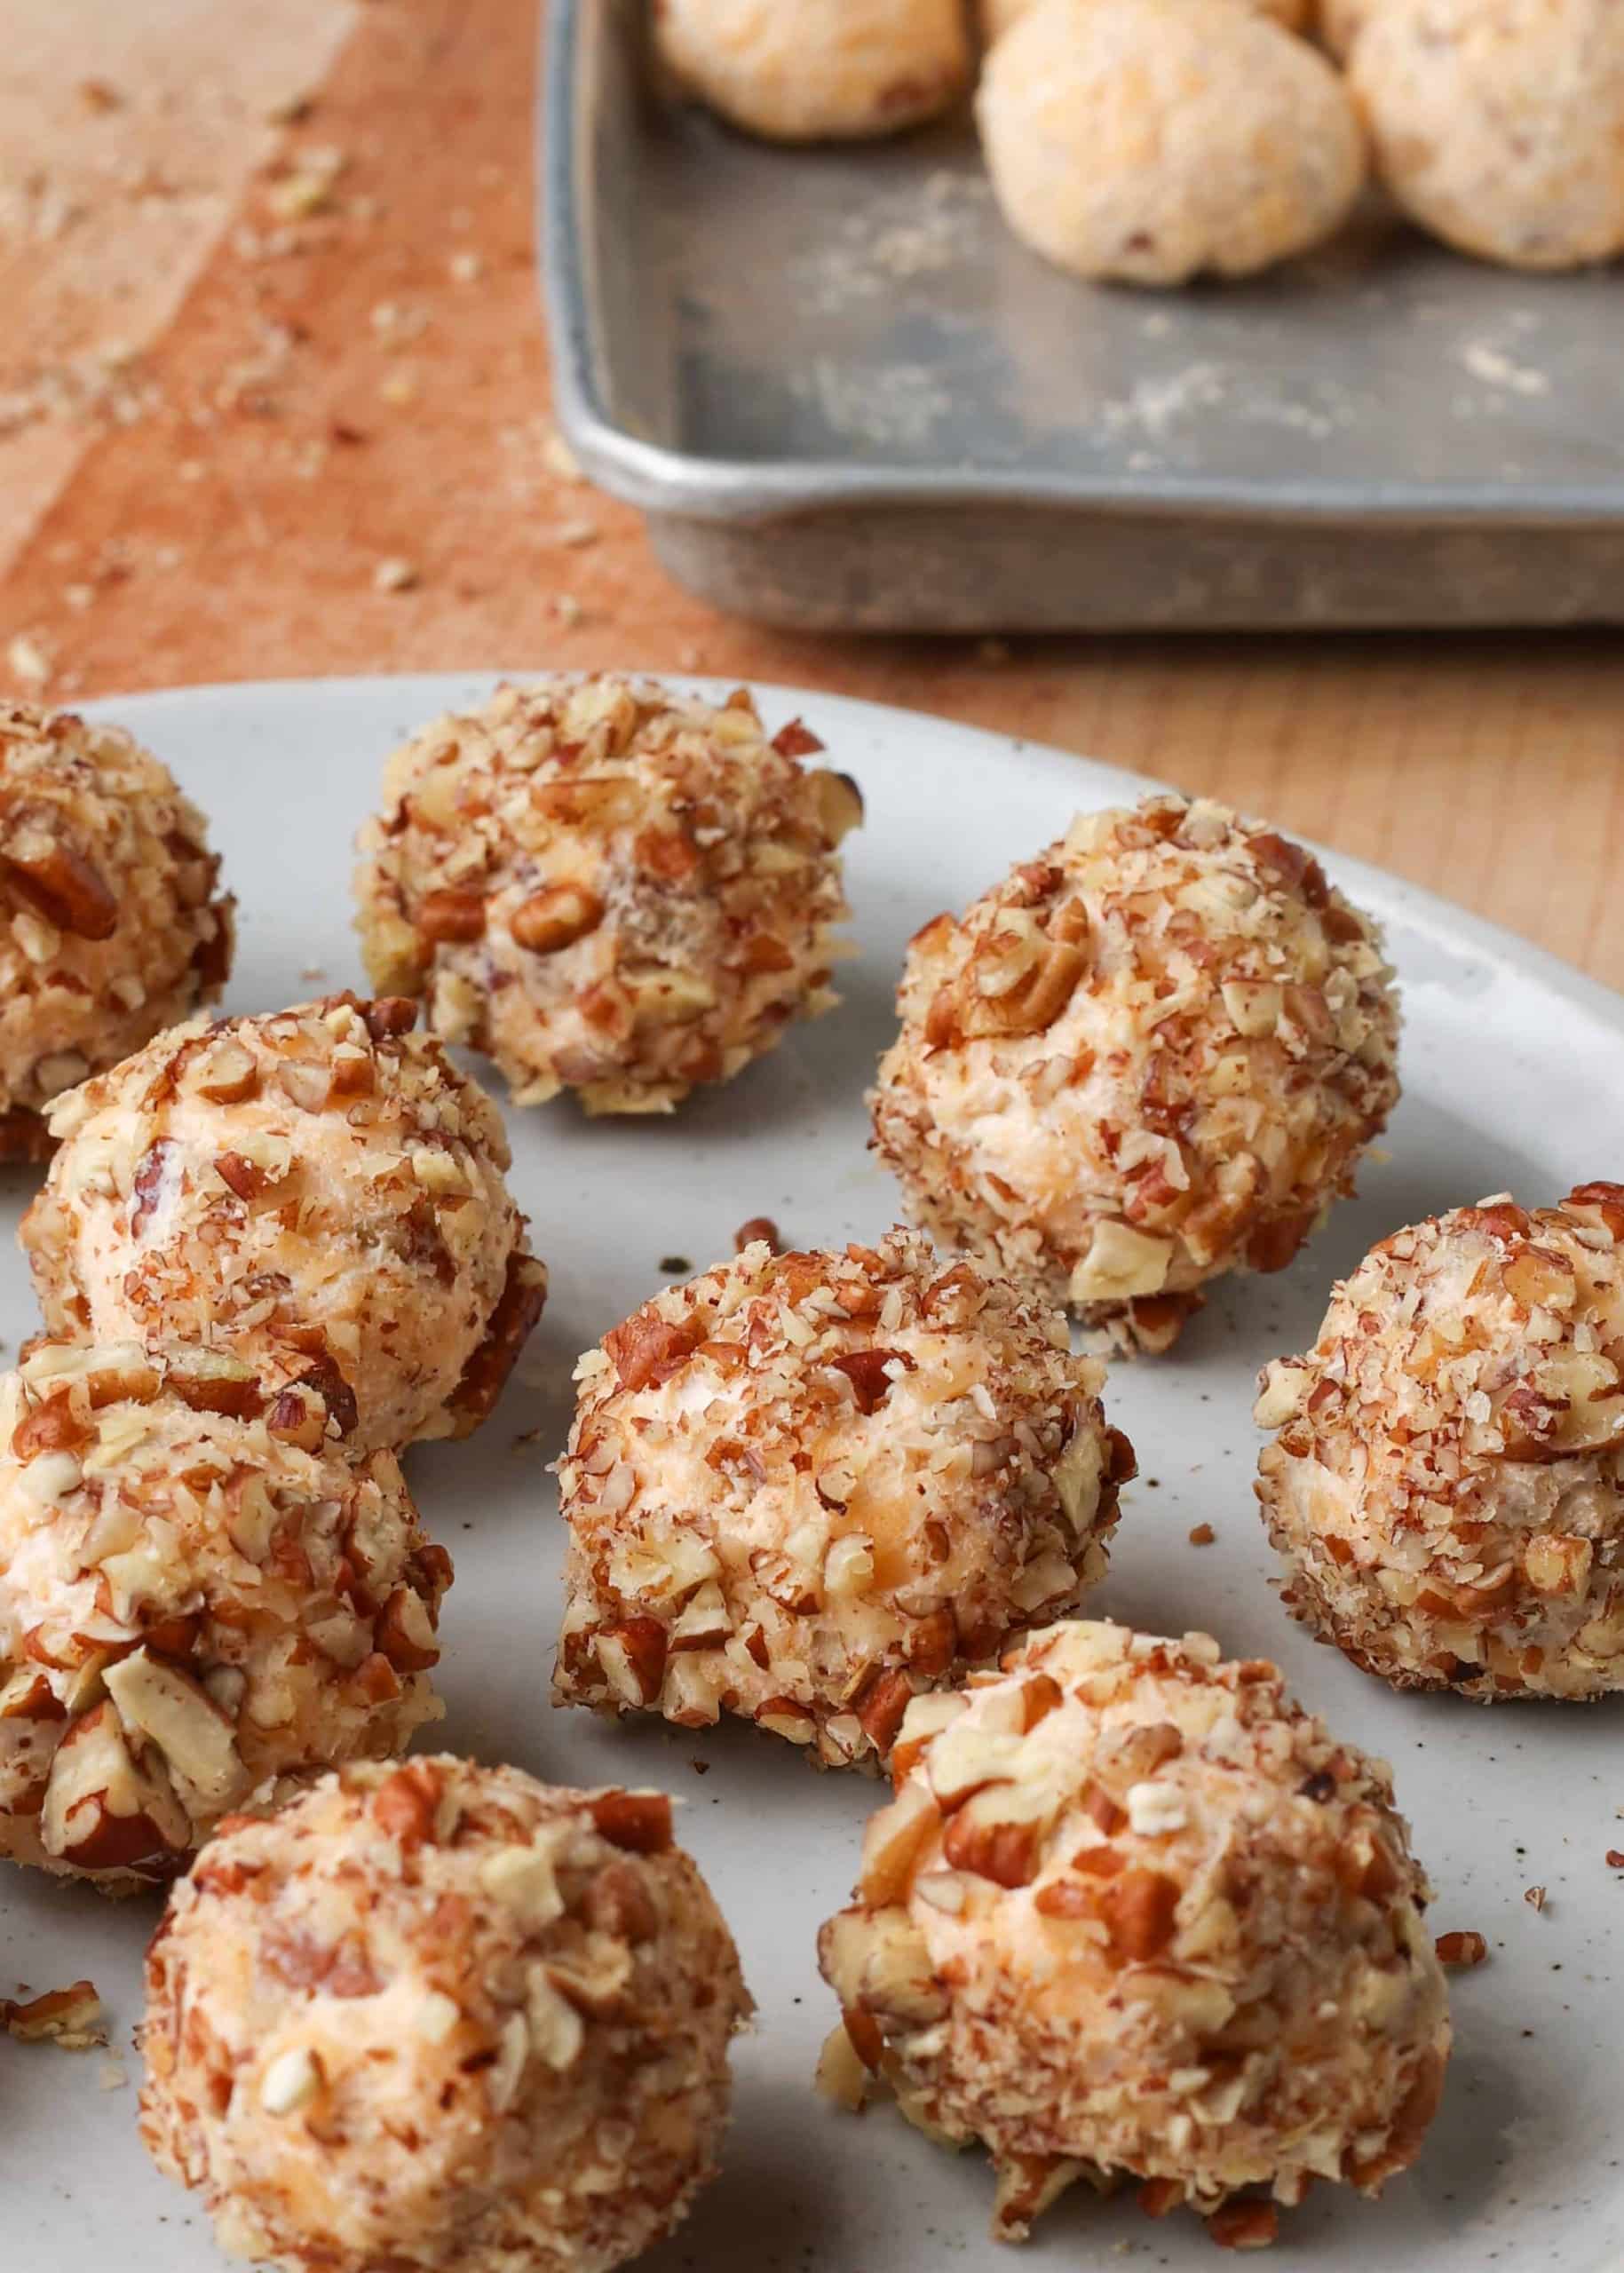
Forming the Ball: Divide the cheese mix into 36 portions and shape gently into balls. Then, roll each ball in the remaining chopped nuts to coat the outside. Set aside onto a parchment paper lined baking sheet until ready to serve.
Expert Tip
To get beautiful, uniform cheese balls, it helps to use a cookie scoop. I use a medium scoop to divide the cheese mixture into portions, which makes sure that they are all the same size. Then, just roll them in your hands to even out the shape before pressing into more chopped nuts.
Stick a Fork in It: When serving at a party, I like to skewer each cheese ball with a sturdy appetizer pick, or have tongs nearby. This makes it easier to grab and keeps folks from having to touch the mini-cheese balls with their hands.
Garlic Choices: Garlic powder and granulated garlic can be used interchangeably in this recipe, but there are slight differences. Garlic powder is finely milled like flour, and packs a punch. But, it has a tendency to clump. Granulated garlic is a little more coarse (think fine cornmeal) and disperses more easily, but is a little more subtle.
Toast the Nuts: Plain nuts work fine, here. But, if you take just a minute or two to toast the nuts before chopping and adding them, it enriches their flavor. And, I think it’s worth the effort.
Serving Suggestions
When I’m building out a snack spread, I like to mix in a few contrasting flavors and textures. So, I like to add this caramelized onion hummus to the lineup for a sweet note.
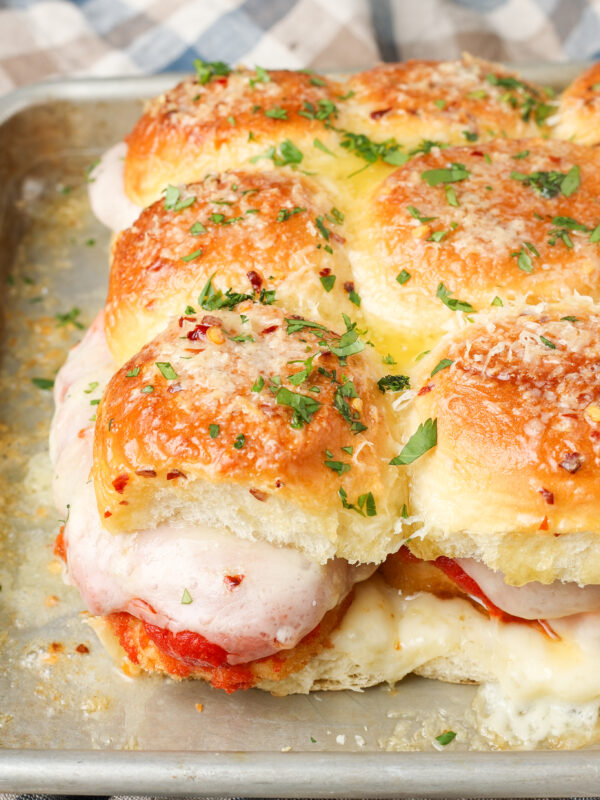
And, if we’re eating this appetizer for dinner (no judgement!), it’s a breeze to add some easy air fryer shrimp for a quick protein. Or, I can whip up some pepperoni pizza sliders for some heartier bites to pair with this dip.
Make Ahead & Storage
Make Ahead: You can make this recipe for mini cheese balls up to two days before you want to serve them. (Or even longer if you stash them in the freezer!)
How to Store: These will keep well in the refrigerator for a day or two when covered tightly.
More Cheesy Dip Recipes
Frequently Asked Questions
Oh absolutely! Cheese balls will keep well for up to two months in the freezer. Simply thaw them in the fridge for a day before serving.
Yes, it works in a pinch. But, the texture of these cheese balls is so much better if you can use freshly grated cheese. Pre-grated cheese most often is coated with cellulose or starch to keep it from clumping, and that makes it less creamy in recipes like this.

Mini Cheese Balls
Ingredients
- 1 pound mild or sharp cheddar cheese grated
- 8 ounces cream cheese softened
- 1 cup nuts chopped
- ½ teaspoon granulated garlic or garlic powder
Instructions
- Combine the cheddar and cream cheese in a mixing bowl and mix until well blended. Add the nuts and garlic and mix. Shape into bite-sized balls.
Nutrition
Nutrition information is automatically calculated, so should only be used as an approximation.


Thank you for sharing your recipes!
I’m so glad you’re enjoying the recipes, Norma!
Adding chopped green onions and 2 tbsp of Worcestershire. Adds so much flavor
No doubt, Donna. I’m glad you’re loving the cheese balls!
What kind of nuts can I use any or something specific if it should be something specific then it should be listed in the recipe I did not see that
Hi, Yvette. Any kind of nut should work. I hope you love the cheese balls!