
This post may contain affiliate links. Please read our disclosure policy.
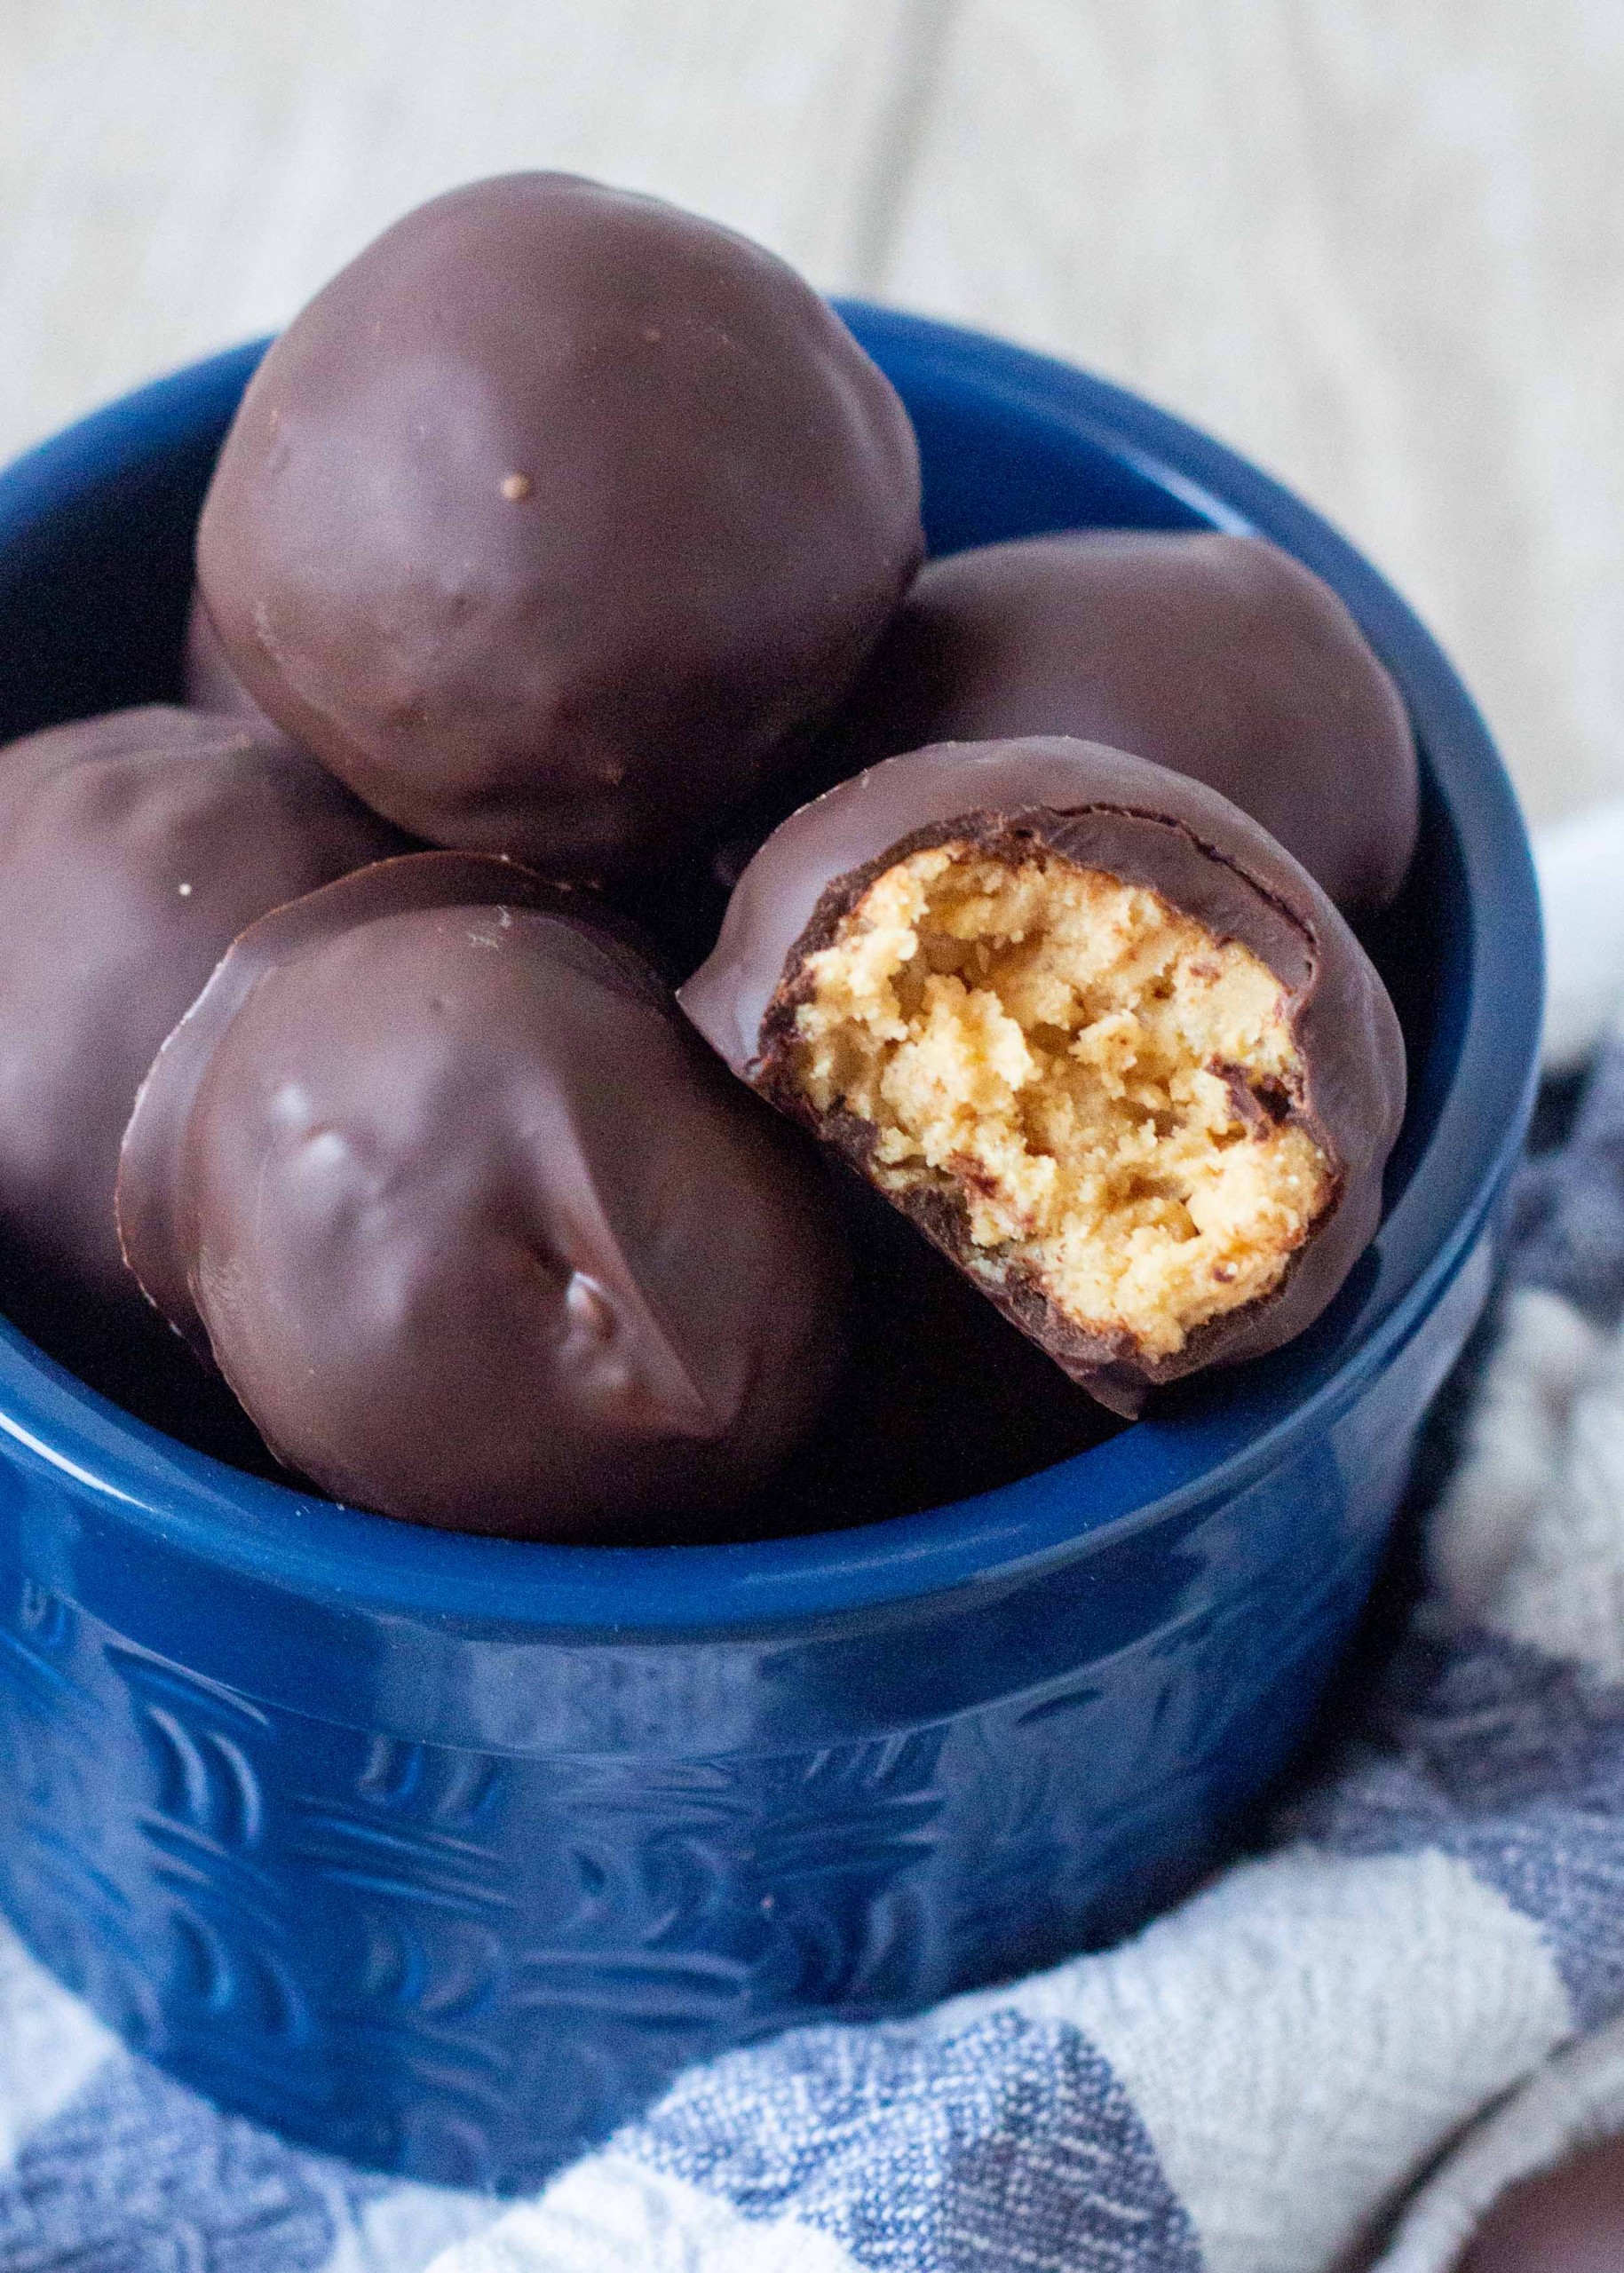
Classic Chocolate Peanut Butter Balls with Rice Krispies for extra texture and crunch. A quick and easy candy recipe.
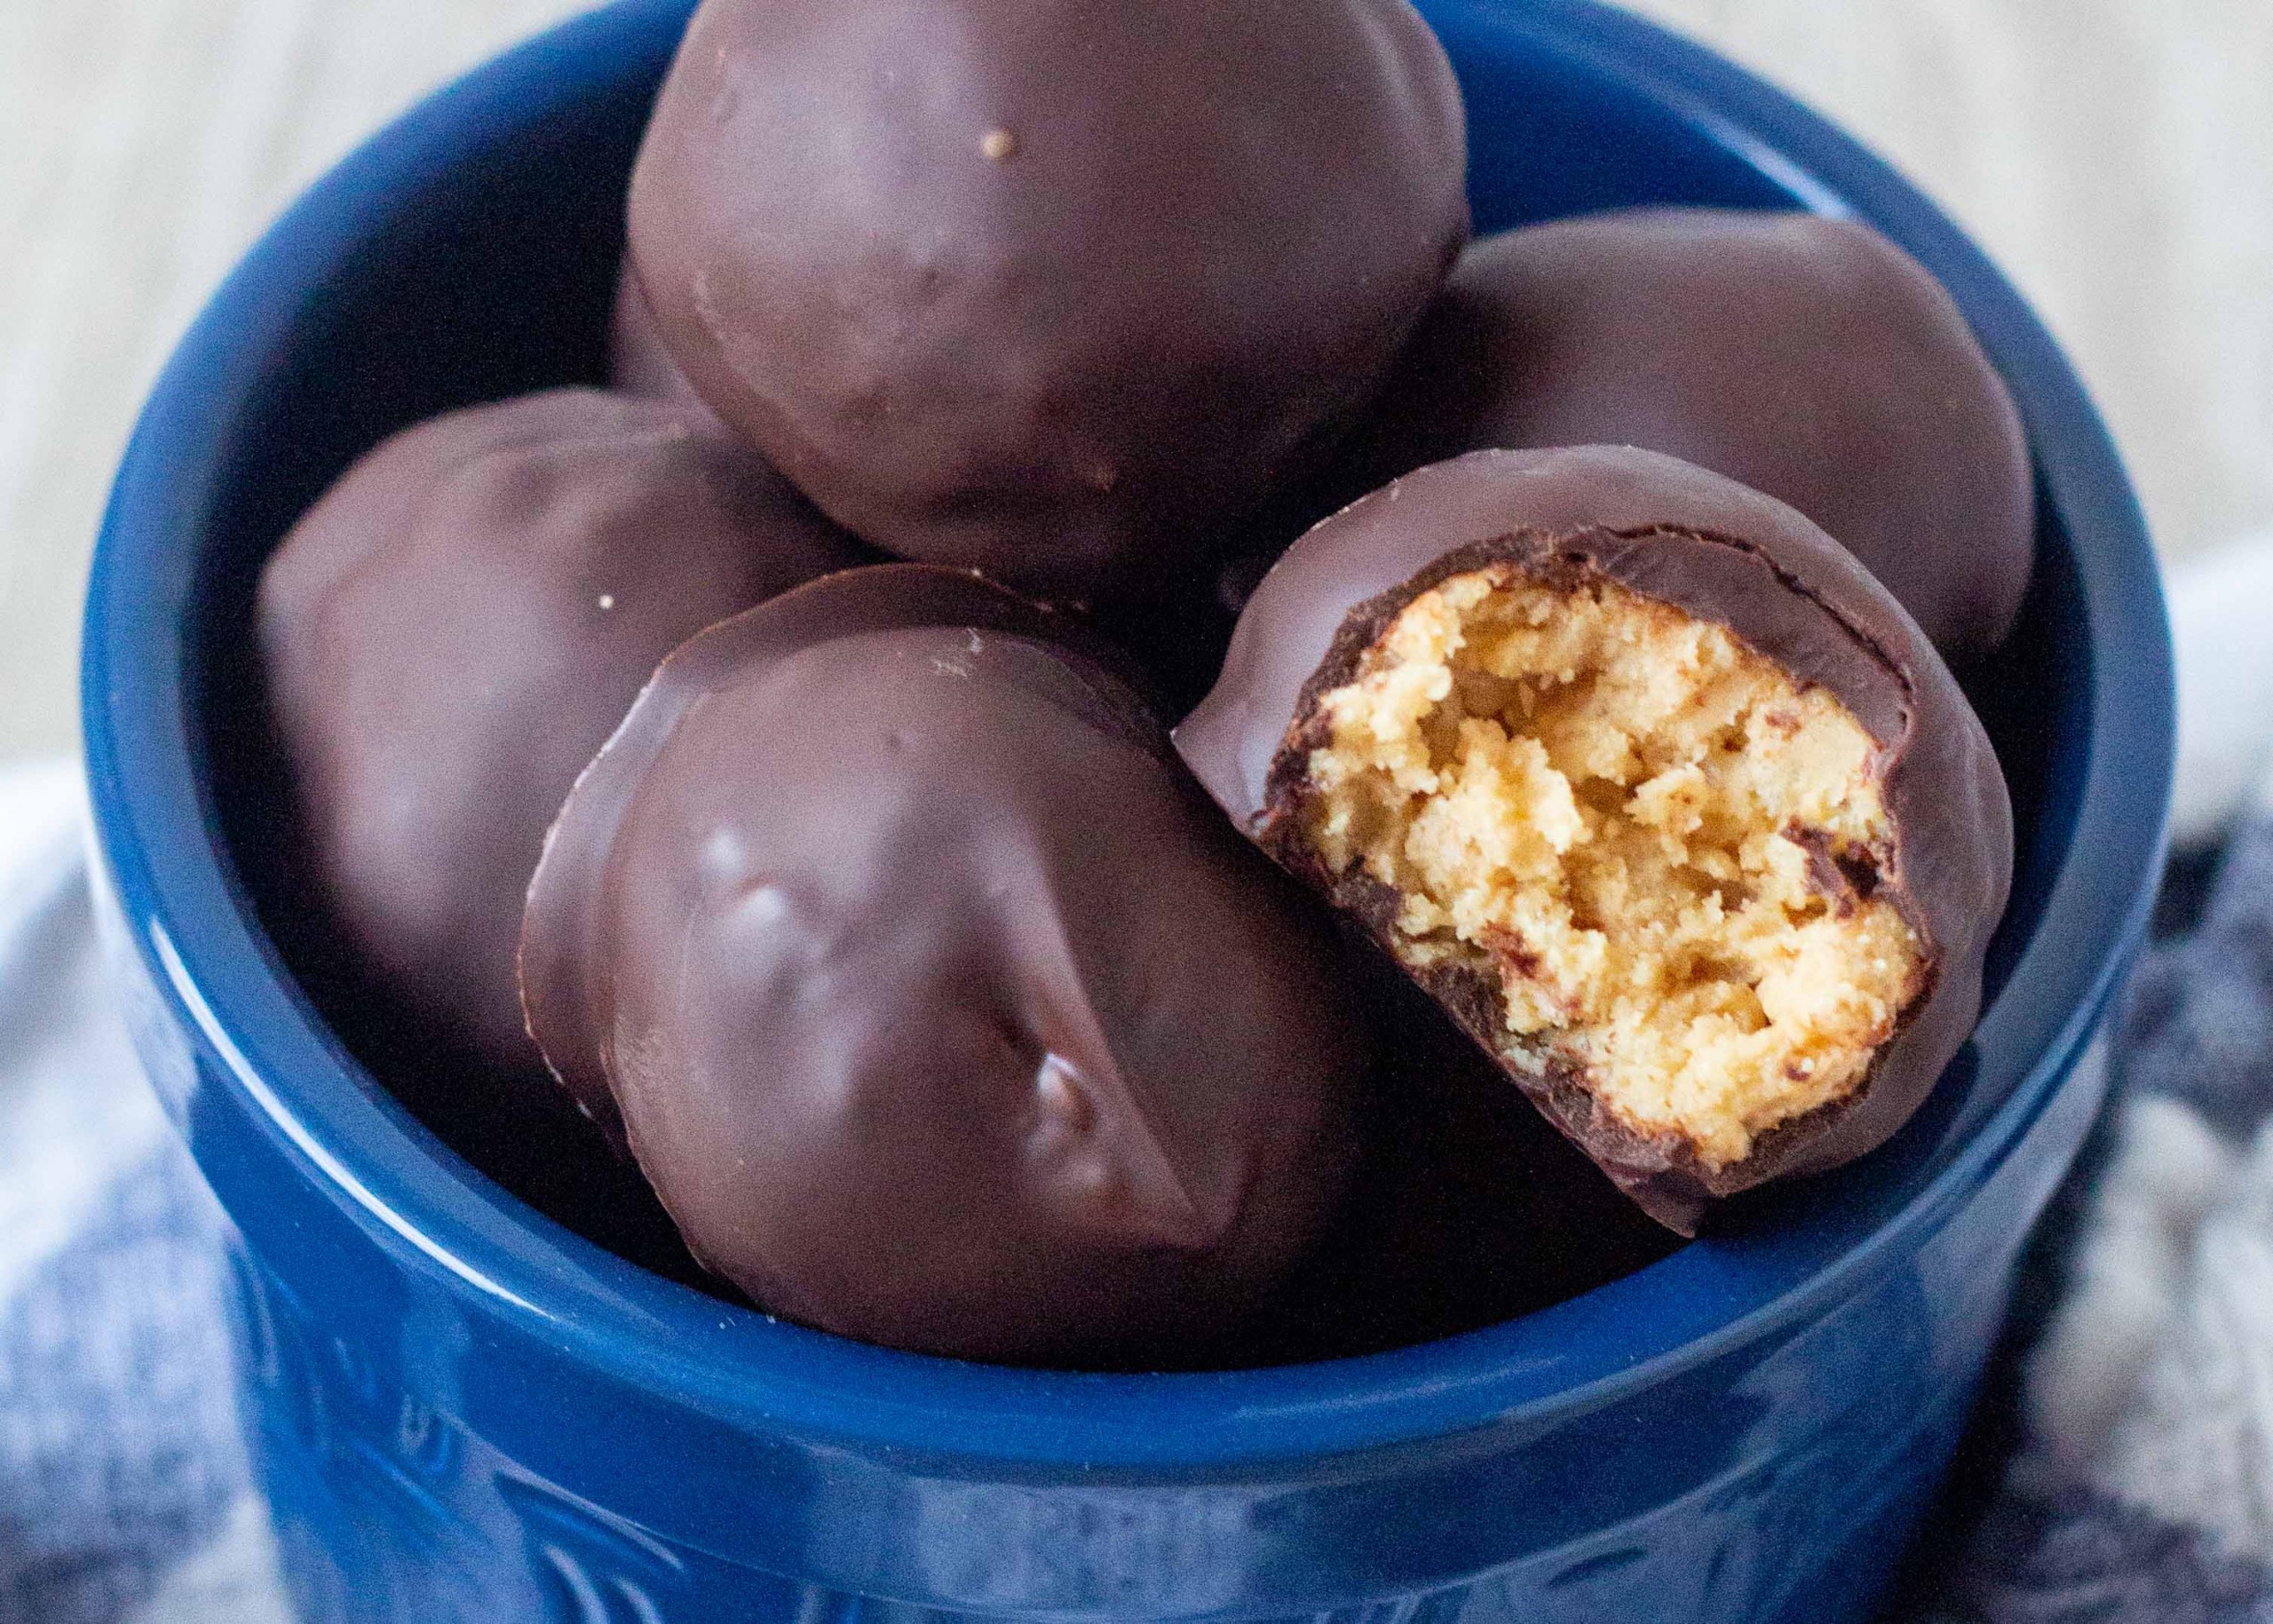
What do you get when you combine peanut butter, chocolate, and Rice Krispies in a simple no-bake dessert recipe? You get one happy family of taste testers.
I’ve shared my family’s Peanut Butter Balls (aka Buckeyes) recipe here before (and it’s one of my most popular recipes).
Once you’ve made them, you’ll understand our love for those chocolate peanut butter treats. And then you may find yourself making all of these variations:
Peanut Butter Pretzel Buckeyes
Peanut Butter Balls with Graham Crackers
Chocolate Peanut Butter Acorns
All of these recipes make terrific Christmas Candies for gifting or for snacking. It’s a tradition in our family to make these each year.
These Peanut Butter Balls with Rice Krispies have become another friend and family favorite over the years.
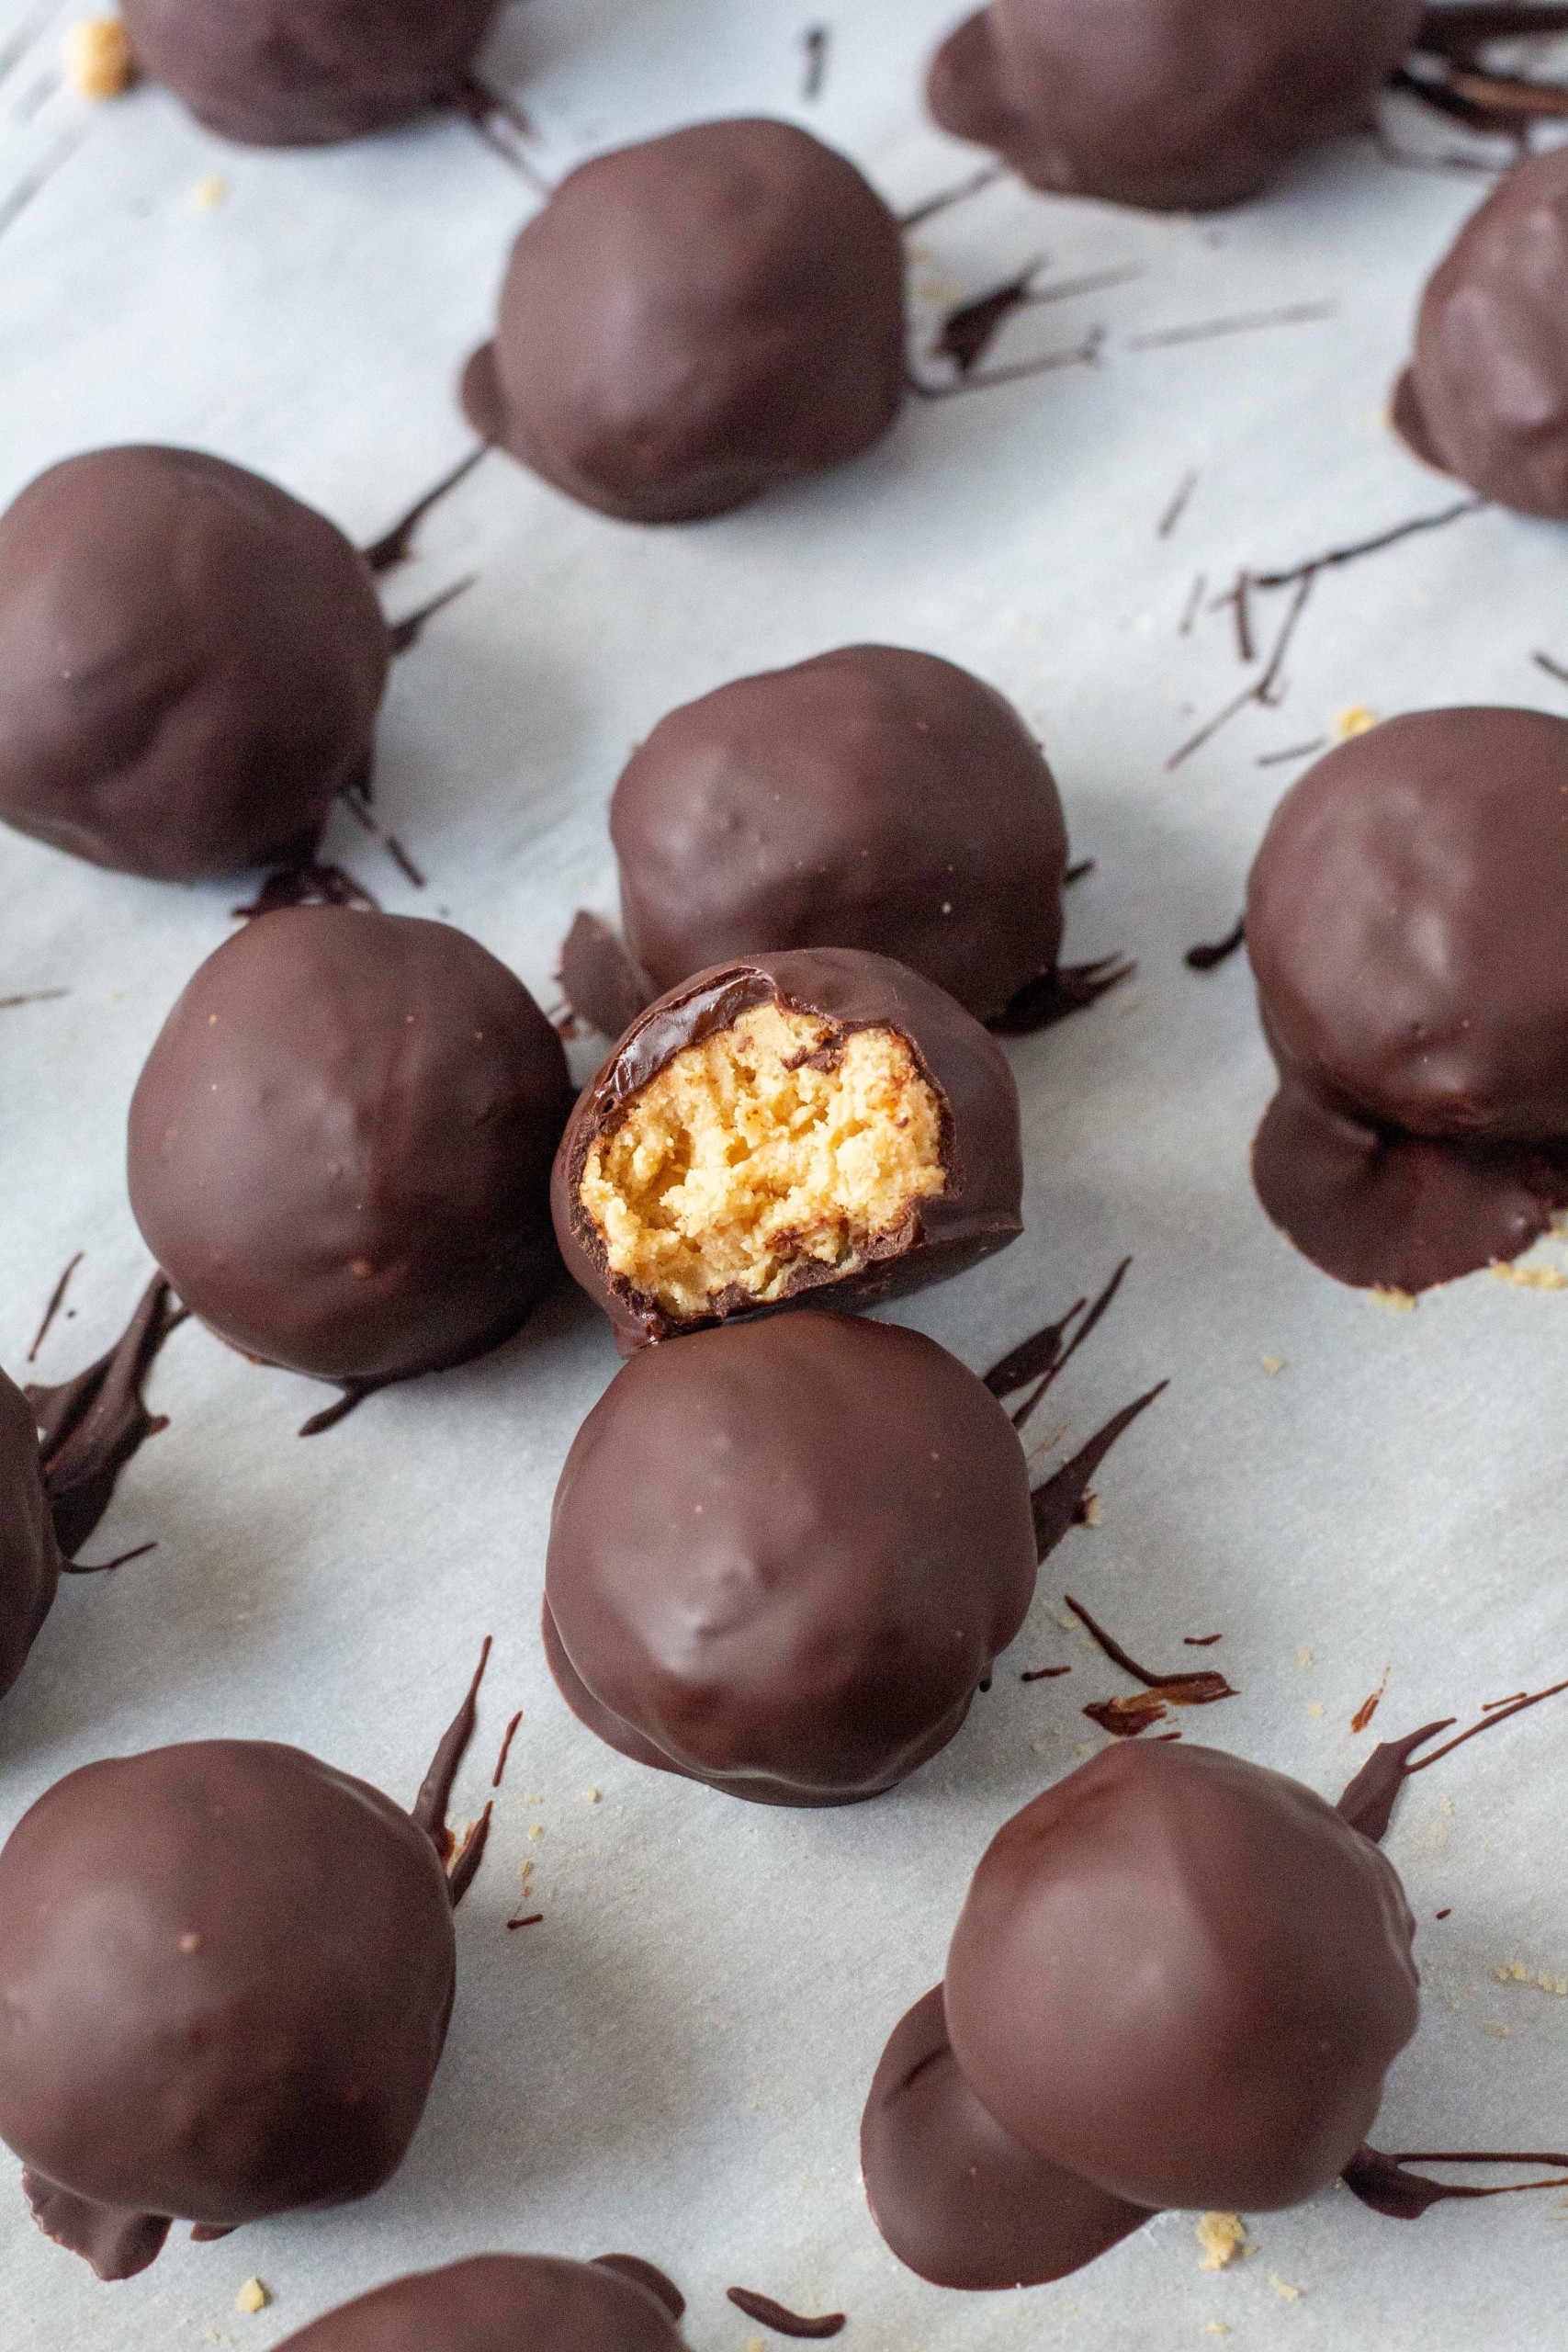
I fondly remember enjoying Peanut Butter Balls with my family as a child. It brings back happy childhood memories every time I bite into one.
I’m delighted to share this recipe with you here so you can experience the same joy with your family!
How to Make Peanut Butter Balls with Rice Krispies
Cooking Tools You’ll Need
- Parchment paper or wax paper to prevent your cookies from sticking to the baking sheet
- A large mixing bowl to combine your ingredients
- Your microwave or a double boiler to melt your chocolate
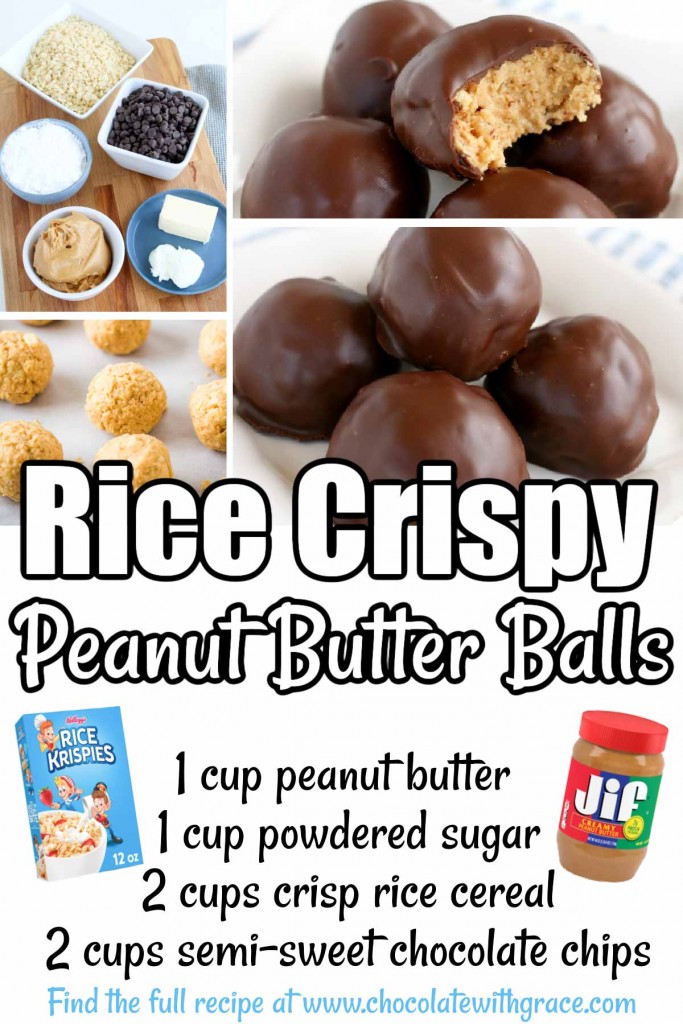
Ingredients
- Peanut butter: You have options with your peanut butter choice depending on your preference. You can opt for creamy or crunchy peanut butter for this recipe.
- Butter: This is another essential ingredient for your recipe. It should be soft, but not completely melted.
- Powdered sugar: Powdered sugar will add a lot of flavor and sweetness to your Peanut Butter Balls.
- Rice Krispies cereal: The cereal will provide amazing texture to your buckeyes. You want to crush them slightly, so they’re somewhere between their original texture and a fine dust. Also, you don’t have to use the Rice Krispies brand, you can opt for an off-brand as well.
- Semi-sweet chocolate chips: You can pick the chocolate chips of your choice.
- Vegetable shortening: This recipe works best with soft vegetable shortening
Rice Krispy Peanut Butter Balls
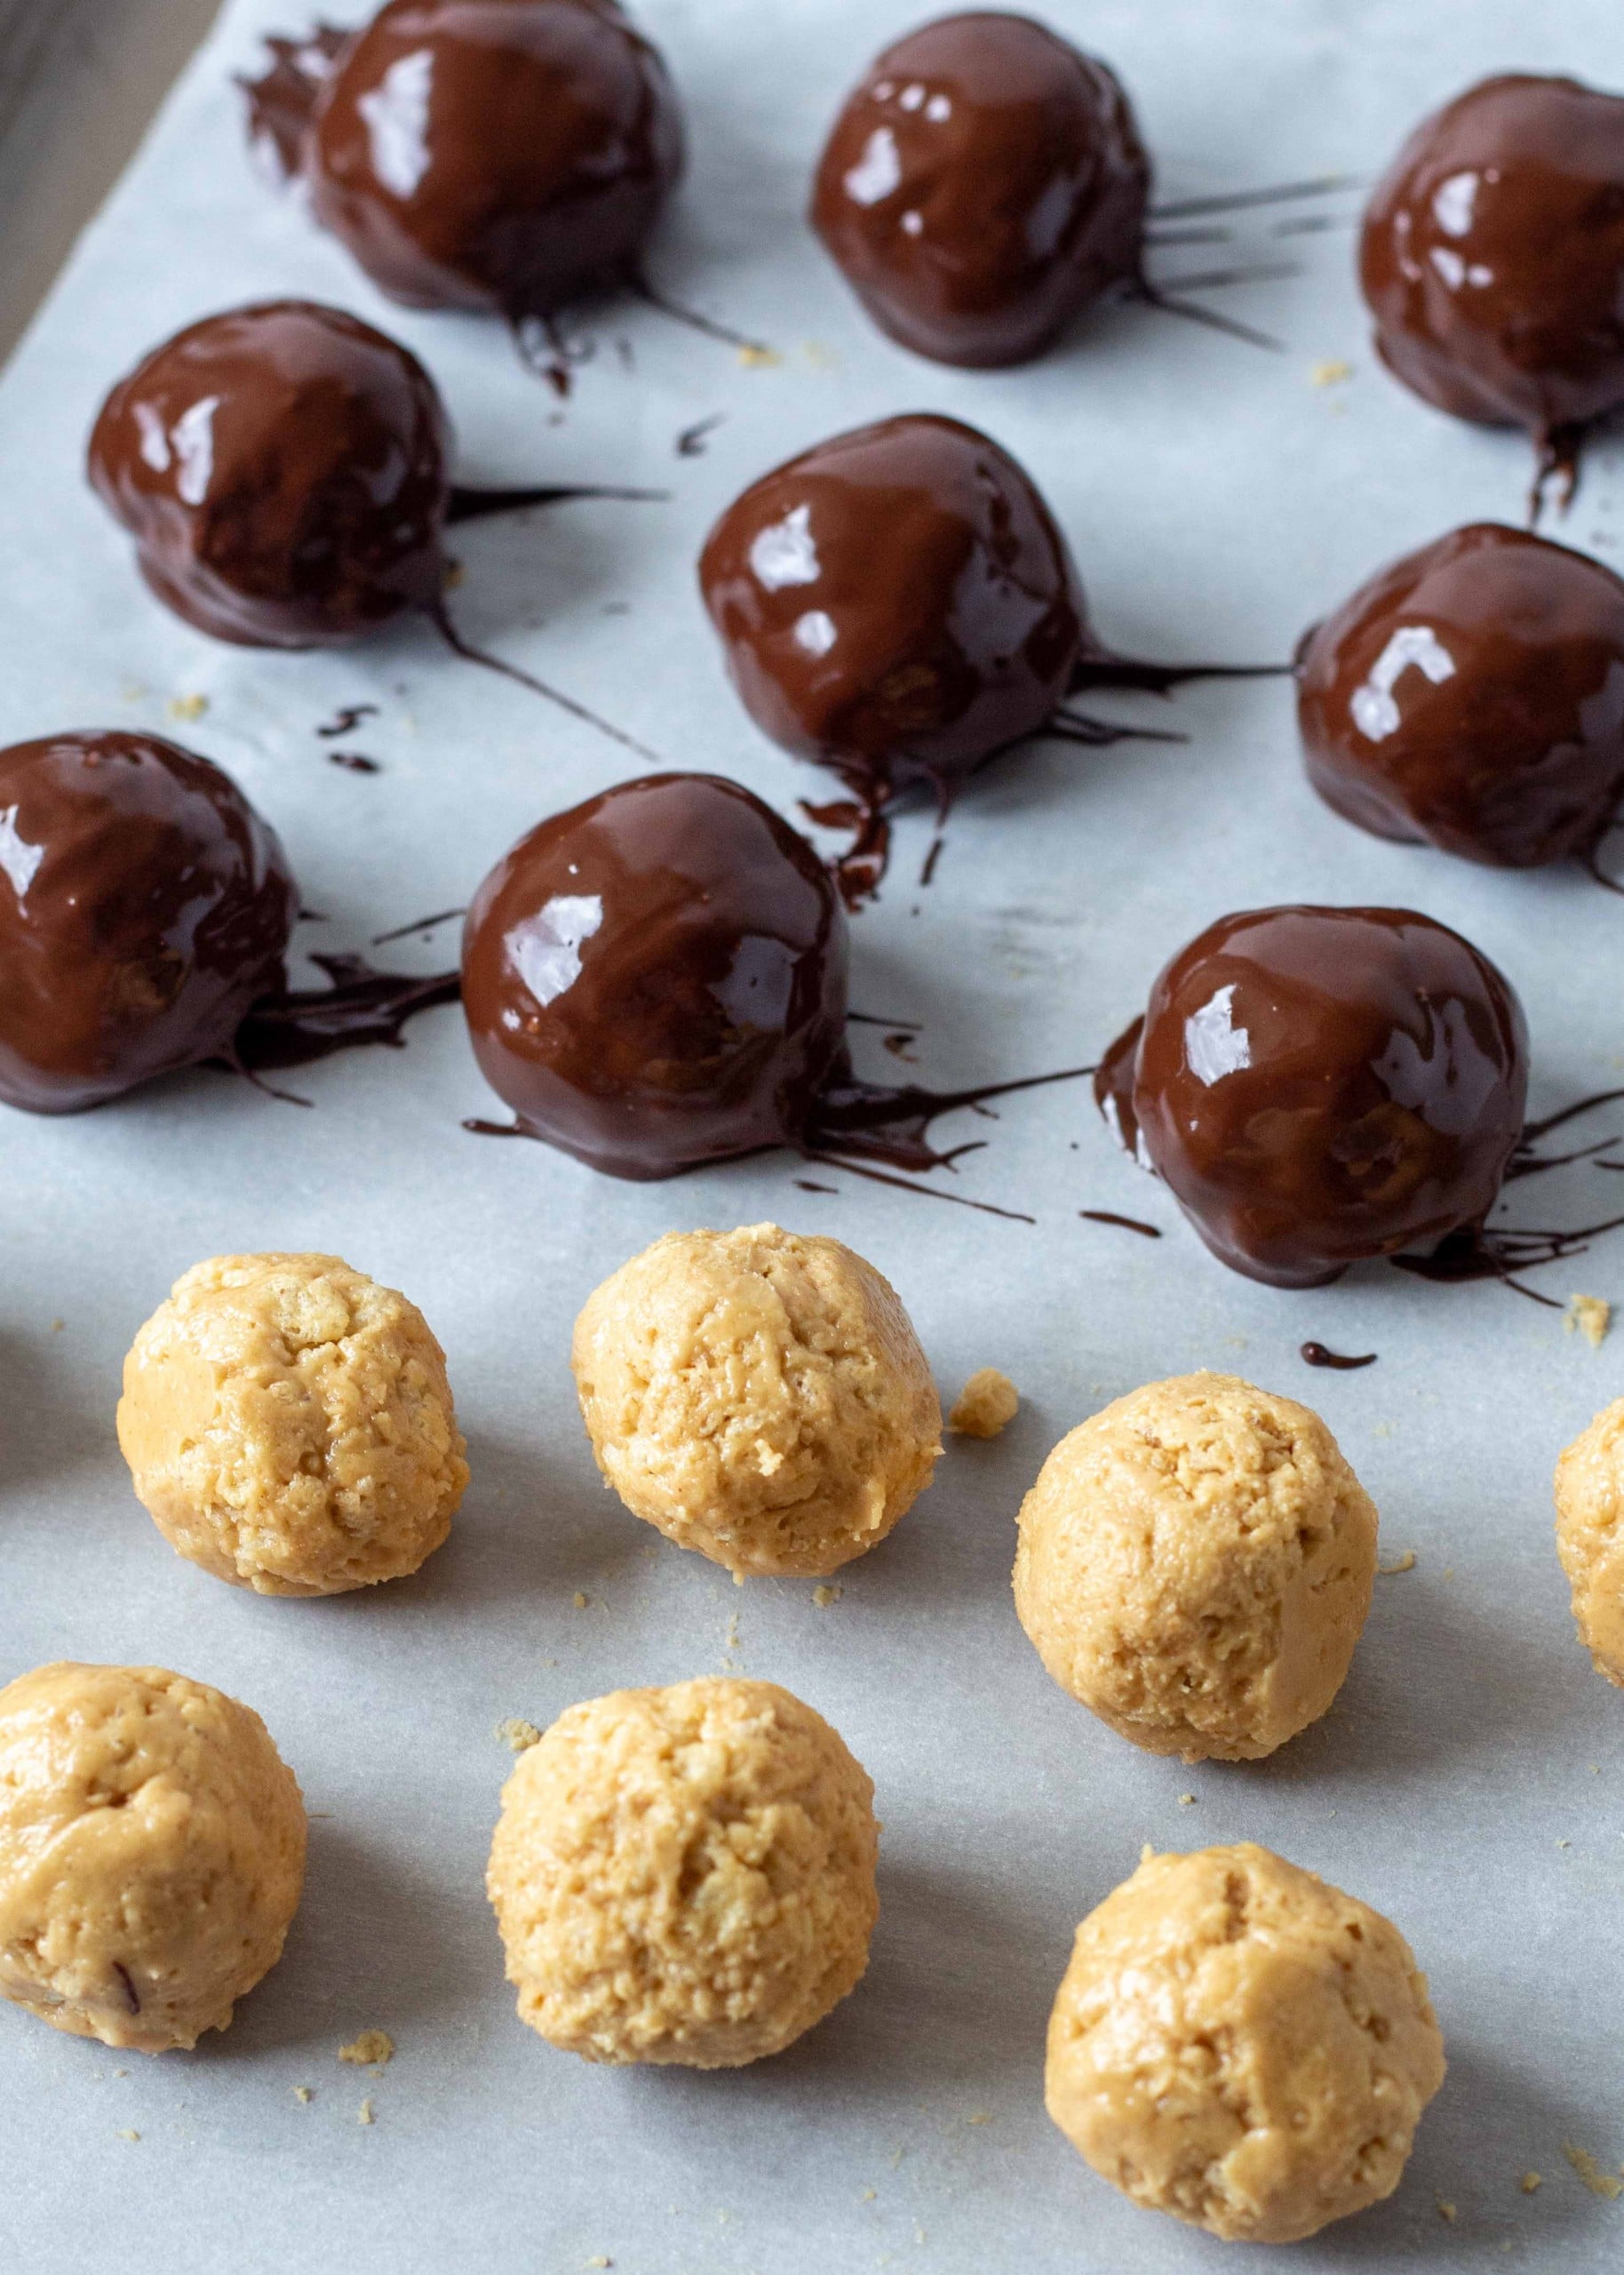
You want to start by lining your cookie sheet with parchment paper or wax paper to prevent your balls from sticking to the cookie sheet.
Then, combine your peanut butter, butter, and powdered sugar in a large mixing bowl until you have a smooth and creamy mixture. A heavy-duty stand mixer makes this easy
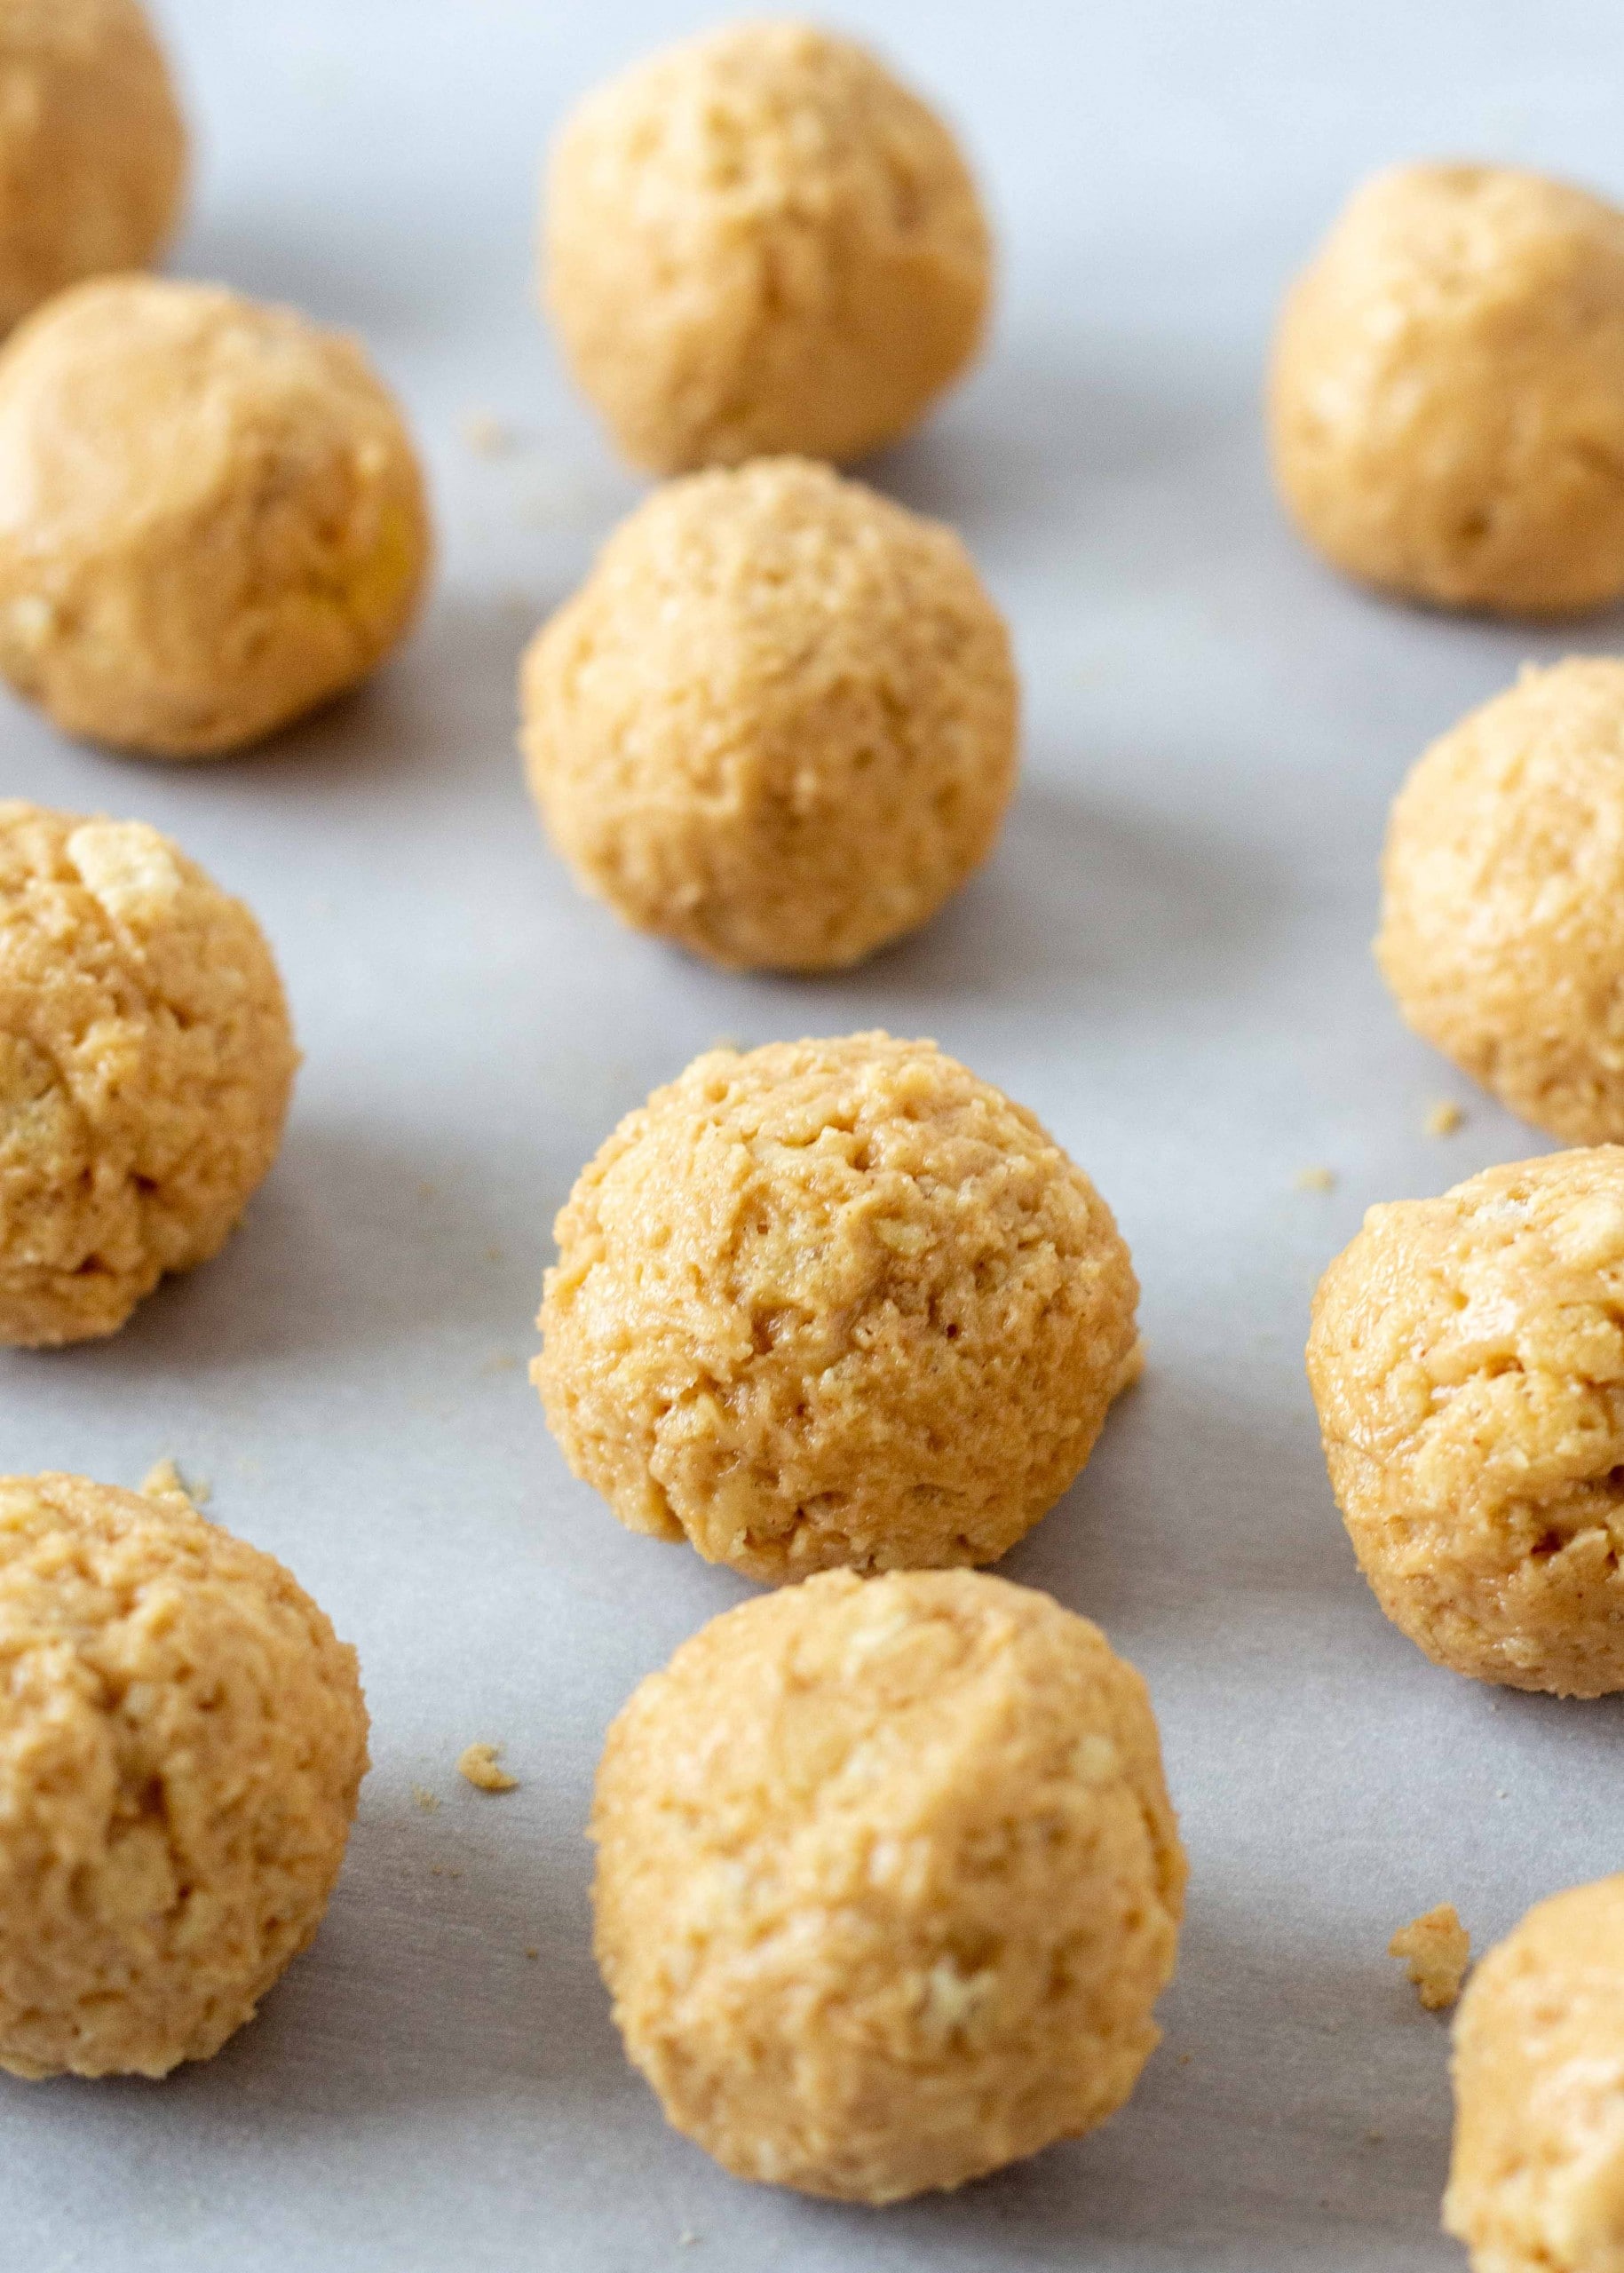
Now it’s time to add the cereal. You will add it to your peanut butter mix until everything is combined well.
Next, you will use your mixture to create your peanut butter balls and place them on a cookie sheet. Then, put them in the refrigerator and allow them to chill for at least 30 minutes.
After your peanut butter balls chill for 30 minutes, you want to prepare the chocolate chip coating.
How To Melt Chocolate For Peanut Butter Balls
You have two options for melting your chocolate chips. You can place them in a microwave for 1 minute and stir, then continue heating them for 20-30 seconds. Continue to do this until your chocolate is melted.
An alternative is to use a double boiler. To do this, you boil a pot of water. Then place a heat-safe bowl containing your chocolate chips on top of the pot.
The heat will melt your chocolate chips. Be sure to monitor your mixture closely and stir it regularly.
To avoid the white film forming on the chocolate, you’ll need to temper your chocolate which can be a little more involved. I usually skip this step, but here is a great tutorial.
After your chocolate melts, it’s time for the fun part. You want to dip your Peanut Butter Balls with Rice Krispies into your chocolate mixture and place them on a cookie sheet until they’re firm.
How to store Peanut Butter Balls
If you’re going to eat them within a few days, you should place any leftovers in an airtight container in the refrigerator to keep them fresh.
Alternatively, they freeze well in an airtight container for several weeks. These are a great make-ahead Christmas candy for the holidays.
If you make this recipe, let me know how you liked it. Leave me a comment below or give it a rating in the recipe card. Happy Baking – or No Baking!
If you need a chocolate and peanut butter snack for one, Puppy Chow for One satisfies the craving perfectly, because resisting the temptation to gorge the entire massive bowl is a struggle!

Peanut Butter Balls with Rice Krispies
Ingredients
- 1 cup peanut butter creamy or crunchy
- ¼ cup butter softened
- 1 cup powdered sugar
- 2 cups Rice Krispies cereal slightly crushed
- 2 cups semi-sweet chocolate chips
- 2 tablespoons vegetable shortening
Instructions
- Line cookie sheet with parchment paper or wax paper. In a large bowl, cream together peanut butter, butter, and powdered sugar. Stir in cereal until well combined.
- Shape into balls, place on a cookie sheet, and chill for at least 30 minutes. In a large microwave-safe bowl, add chocolate chips and shortening.
- Heat for 1 minute and stir, then continue heating for 20-30 seconds and stirring after each interval until chocolate is almost melted. Stir until completely smooth. Dip balls into chocolate and place on a cookie sheet until firm.
- Store in an airtight container in the refrigerator for several days or in the freezer for several weeks.
Nutrition
Nutrition information is automatically calculated, so should only be used as an approximation.
{originally published 8/21/19 – recipes notes and photos updated 6/22/21}


Could this be made without the sugar? The peanut butter and chocolate coating is already sugar enough so if I leave out the powdered sugar, will there be any issues?
The sugar in this recipe works to achieve the necessary texture, so perhaps if you add more rice krispies you can get them to hold together that way. I haven’t tried it myself, but I’m guessing that if you add enough rice krispies to the peanut butter, you can get the texture to a place when you could roll it into balls. You’ll just need to play a bit with the amounts to get there.
The recipe my Great Aunt gave me uses chocolate candy bark and paraffin instead of chocolate chips and oil.
This really is a tried and truly loved treat. I have been making them for at least 40 years.
I’m glad you loved them!
What do you use the vegetable shortening for?
It will help smooth out the chocolate, Vicki.
Have you ever had a problem with the rice crispies getting soggy and losing their crunch?
We typically eat them pretty quickly, so we haven’t run into that problem.