
This post may contain affiliate links. Please read our disclosure policy.
This post has all the tips and tricks you need to know to make the best no-bake graham cracker crust.
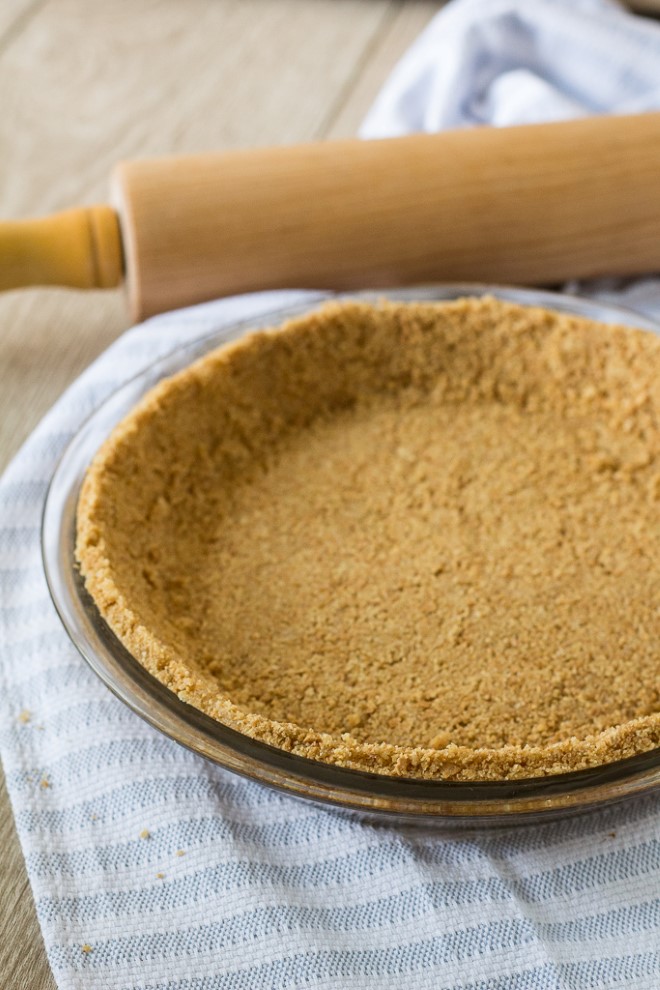
This crust can be made in a 9 inch pie plate, springform pan or 9×13 inch baking dish.
Recently, I shared how to make a perfect no-bake cheesecake, but I wanted to dedicate a post to how to make a no bake graham cracker crust.
With a great recipe and a few tips up your sleeve, you can make a perfect graham cracker crust for all your no bake pie dreams.
How to make a No-Bake Graham Cracker Crust
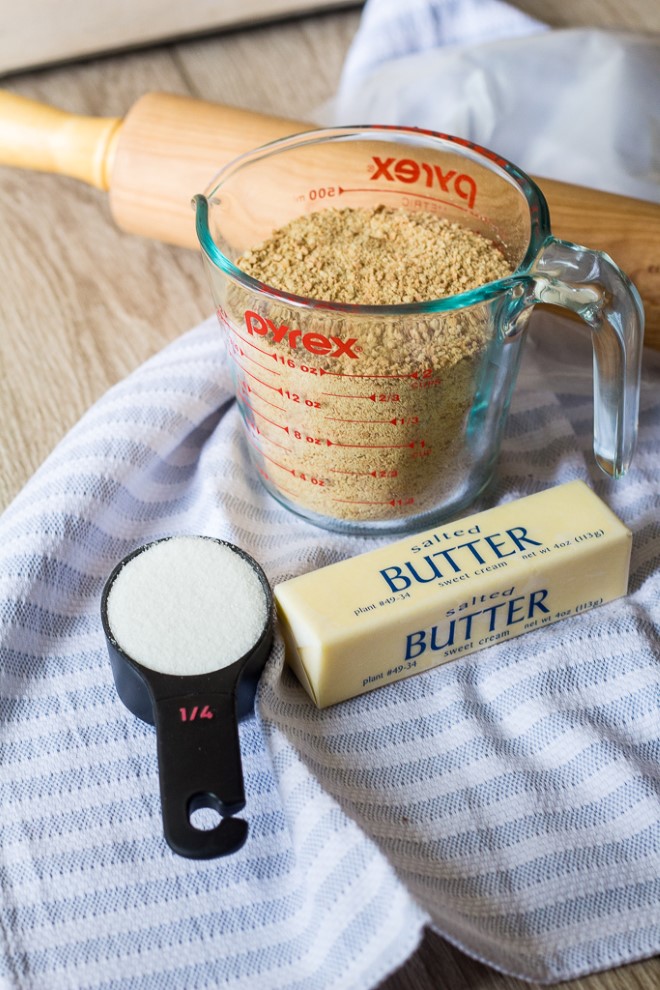
To make a no bake pie crust, you’ll only need three ingredients:
- Graham Crackers
- Granulated Sugar
- Butter
Homemade Graham Cracker Crust
Start by crushing your graham cracker. You’ll want them super fine so the pie crust will hold together better.
I usually place the graham crackers in a large ziploc bag and crush them with a rolling pin until fine, but a food processor also does a great job.
You’ll need about 1 1/2 cups of cracker crumbs which is approximately 9-10 sheets of graham crackers. The amount of crumbs you get depends on how finely you crush the crackers.
The finer you crush them (and I do recommend finely crushed crumbs) the more sheets of graham crackers you’ll need.
If you like to measure by weight, you’ll need about 5 ounces of crumbs.

No Bake Graham Cracker Crust Recipe
Once you’ve made the crumbs, stir in the sugar and the melted butter until uniformly combined. I recommend mixing this together with a fork as it creates nicer crumbs in the crust.
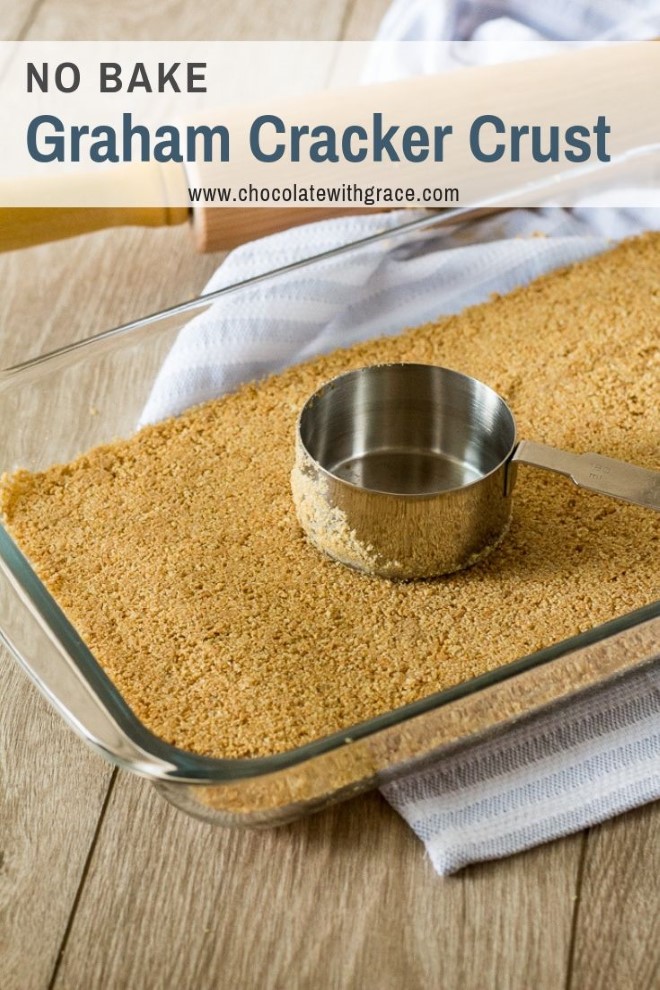
Press the crumbs into your baking dish. I like to use a measuring cup to firmly press them in and create crisp edges on the crust like the store-bought crusts have.
You can use this recipe for a 9-inch pie plate, a 9×13 inch baking pan, or a springform pan for a cheesecake.

Once you have the crust made, chill it for 30 minutes before adding the filling. This helps the butter firm up and hold all the crumbs together.
Once your filling is in crust, chill the pie for at least 4 hours before slicing and serving. This helps the filling bind to the crust and set so the crust and pie will slice cleanly.
Be sure to check out the video in the posts to see how this no-bake graham cracker crust is made.
How To Use A No-Bake Crust
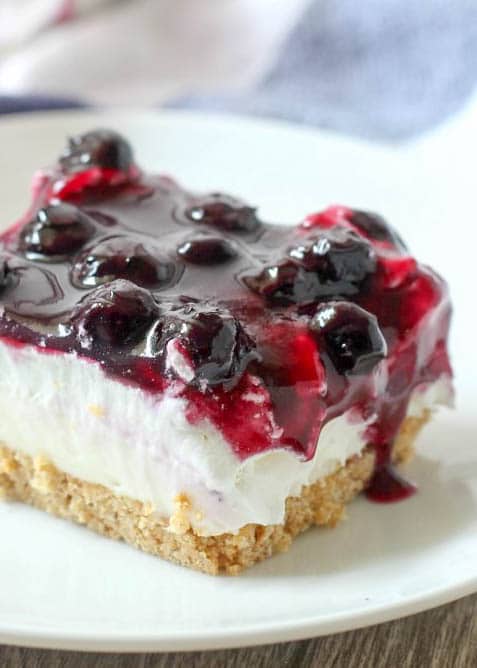
This no bake cheesecake is one of our favorites. We also like to make no bake blueberry cheesecake, no bake chocolate mousse, or this no bake biscoff cheesecake.
Try this Fluffy Key Lime pie or No Bake Lemon Pudding pie too. They both sound delicious.
You could bake this graham cracker crust if you prefer, it will be a little bit most crisp that way. Just bake at 350°F for 10 minutes. Allow the crust to cool completely before filling.

Cheesecake Serving Tips
If the crust is difficult to remove from the pan, carefully dip the bottom of the pie plate into hot water for a couple of moments. This will warm it slightly and make it very easy to release and serve.
If you make this recipe, let me know how you liked it. Leave me a comment below or give it a rating. Enjoy!

How to Make a No Bake Graham Cracker Crust
Ingredients
- 1 1/2 cups graham cracker crumbs, finely crushed (about 10 sheets of graham crackers)
- 1/4 cup granulated sugar
- 6 tablespoons butter, melted
Instructions
- Finely crush the graham crackers, using a food processor or a rolling pin in a zipclose bag. Make the crumbs as fine as possible, as this will help the no bake crust hold together better.
- Add the graham cracker crumbs to a medium bowl and stir in the granulated sugar. Pour the melted butter in and stir until combined.
- Firmly press into the bottom and sides of a 9 inch pie plate or the bottom of a 9×13 inch pan.
- Chill the crust for 30 minutes before filling with your favorite no bake dessert. I recommend this cheesecake!
- After filling, refrigerate the crust with the filling for at least 4 hours before serving.
Video
Notes
Nutrition
Nutrition information is automatically calculated, so should only be used as an approximation.
{originally published 6/15/19 – recipe notes and photos updated 1/11/21}


This crust is perfect! I backed it for ten minutes just like you recommended as an alternative. It was great! I’ll try it both ways 😀
I’m so glad that you like it!