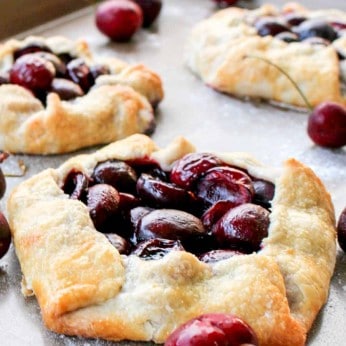
Rustic Cherry Tarts make the most of the season’s beautiful, fresh cherries.
In the summer, I love desserts that feature fresh fruits: Peaches, Cherries, Berries, and Rhubarb – especially the rhubarb desserts, as evidenced by the abundance of recipes here!
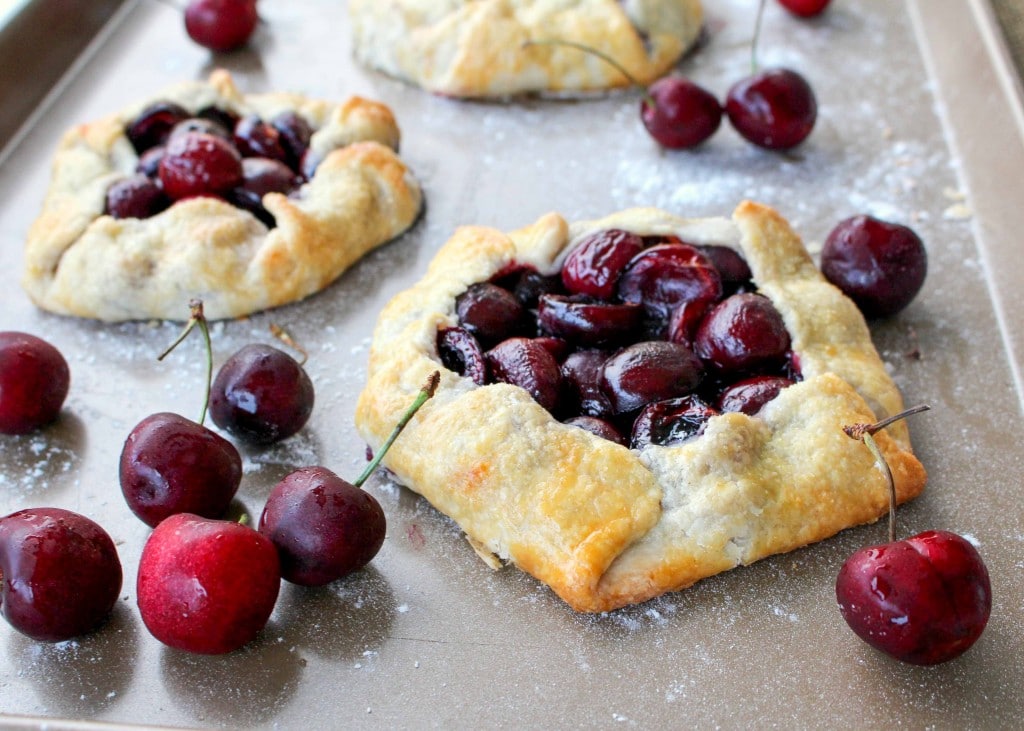
These little tarts are straightforward, consisting of a small circular crust with a mixture of cherries and sugar on top.
Simple, yet they are still a beautiful, tasty treat. The simplicity of the recipe allows the flaky texture of the crust and the juicy flavor of the cherries to shine.
Cherry Tarts
Aren’t cherries a gorgeous, cheery fruit? (See what I did there with the “cheery” cherries? I amuse myself sometimes.)
It’s important for fruit tarts to have a good crust. It has only been recently that I have read up and practiced making pie crusts.
Homemade crusts are not hard, it just takes knowing some tips and tricks to mixing and handling the dough. If you have a favorite, stand-by crust recipe, by all means feel free to use it.
I’ve used this cheater oil pie crust for most of the recipes here on the website. It’s foolproof for pretty much any dessert!
How To Make A Fruit Tart
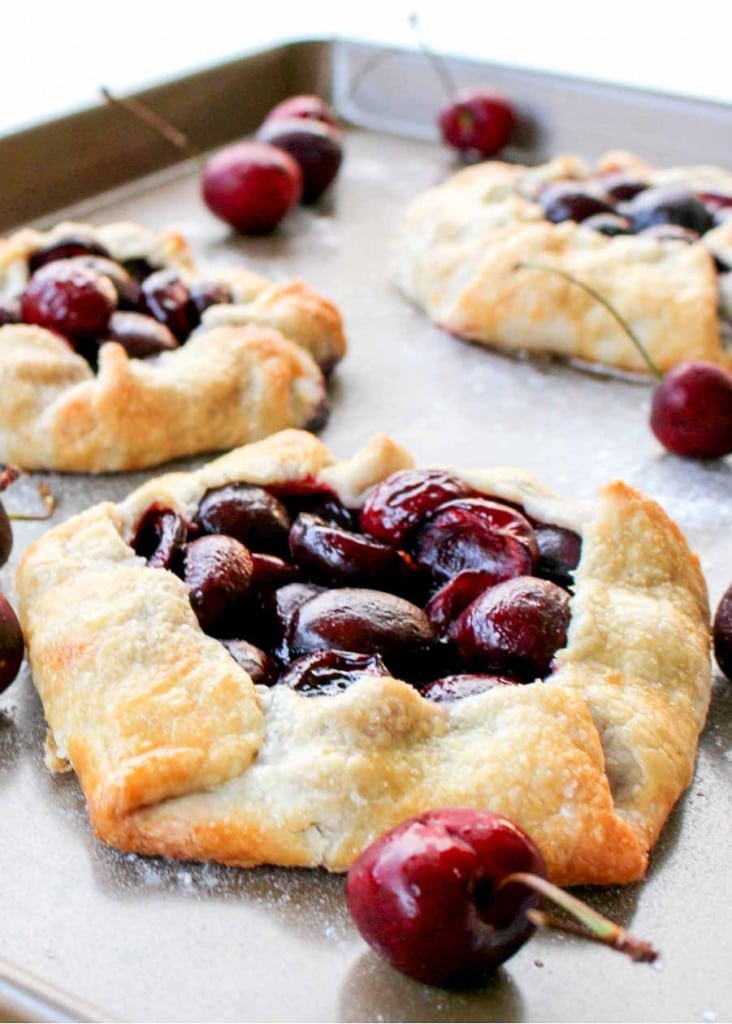
Once you have the crusts made, the rest of the recipe is a snap. Combine the fruit with a few tablespoons of sugar and a bit of cornstarch and the filling is complete.
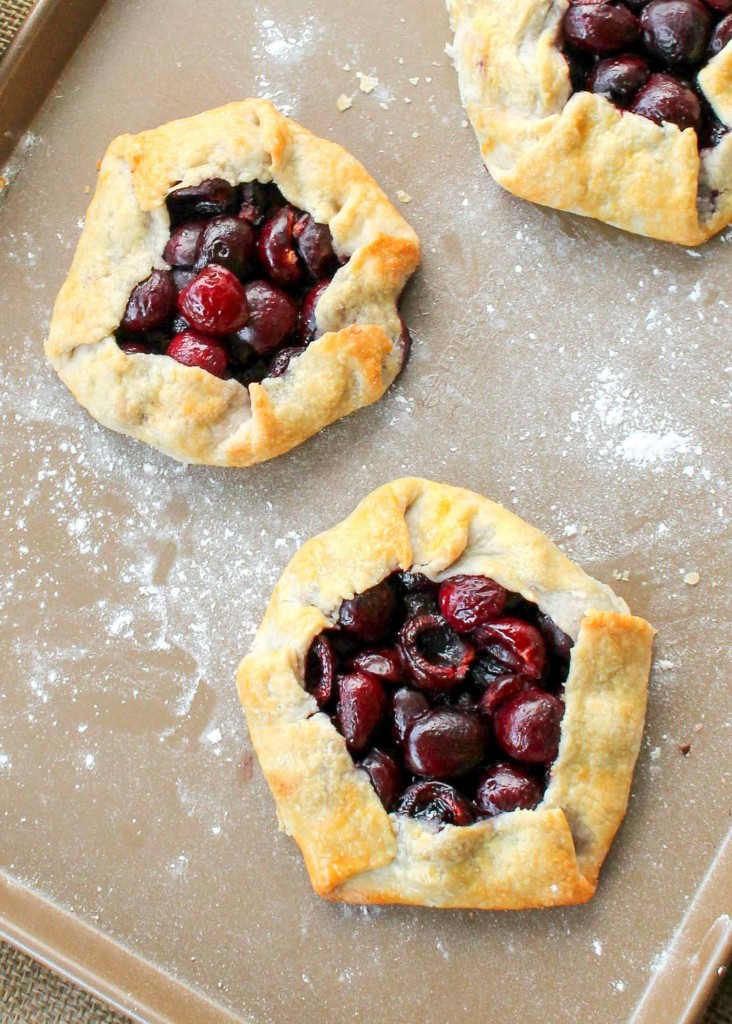
These are free form tarts, meaning that the dough is rolled into a circle, the filling placed in the center and the edges of dough folded and pleated around the edged for a rustic look.
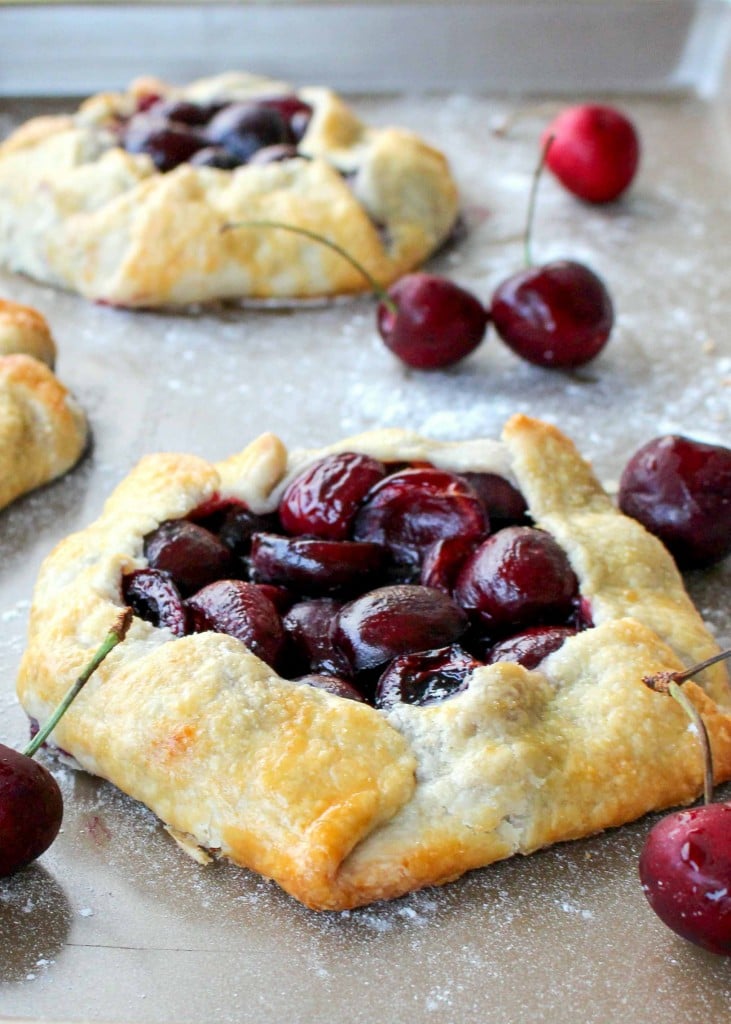
These little beauties are best enjoyed when they are warm right from the oven, perhaps with a bit of vanilla ice cream, if desired.
Cherry Tart Recipe
- In a medium bowl, mix together the flour, salt and sugar. Cut in shortening with a pastry blender until pea sized crumbs.
- Sprinkle the cold water over the mixture, lightly stirring with a fork until dough forms into a ball. Chill the dough for at least an hour. This makes it much easier to handle.
- Preheat oven to 400 F. Mix the cherries with the sugar and cornstarch.
- Divide the dough into fourths. Roll out each fourth into a 8 in round circle. Trim the edges a bit with a knife, if necessary.
- Spoon a cup of the cherries into the middle of each circle, leaving about an inch and a half of crust around the edges.
- Gently fold the edge of the crust over the cherries, pleating as you go. Brush the crust with a beaten egg. Bake for 25-30 minutes or until the crust is golden brown and the cherries are tender.

Cherry Desserts
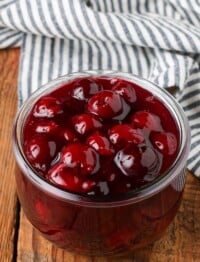
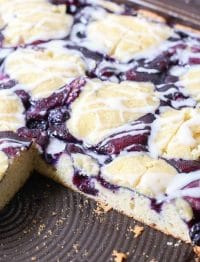
Cherry Pie Bars with Vanilla Glaze are an easy treat you can make with canned cherry pie filling or with fresh cherries.
A classic dessert, this No-Bake Cherry Cheesecake is perfect for summer picnics and potlucks. This cheesecake has a graham cracker crust, creamy no-bake cheesecake layer, and cherry pie filling on top.
Soft, moist, and full of fresh cherry flavor, this Cherry Almond Bread is simple to make, and is a great hostess or neighbor gift.
Homemade Cherry Ice Cream is another summer favorite.
{originally published 7/3/14 – recipe notes and photos updated 6/15/21}


Lisa @ Garnish with Lemon says
Summer cherries are the best. This looks delish 🙂
Mallory says
Thanks, Lisa.
Serene @ House of Yumm says
Mallory, these pictures are absolutely stunning! Loving the cherries. What a perfect summertime treat! Pinned!
Mallory says
Thanks, Serene. Its encouraging to hear you say that because that means I’m improving.
Amy | Club Narwhal says
Mallory, these are absolutely gorgeous! I love the rustic crust and that pop of cherries in the middle. Such a beautiful summer treat!
Mallory says
Thanks, Amy. It’s just my opinion, but I think they are one of the prettiest deserts I have made.
Maris (In Good Taste) says
Cherries are my absolute favorite summer dessert! Yum!
TidyMom says
i love making rustic pies……takes all the pressure out of “the perfect looking crust”! Great idea for all those cherries I have!
Mallory says
Exactly, imperfection means character.
janelle says
I am a big fan of rustic, tarts, and cherries. These look amazing
Mallory says
Thank, Janelle.
Meg @ The Housewife in Training Files says
i LOVE cherries and adore them in this tart. Props to you for making the shell; I am an awful baker so I will definitely need to research some tips. Pinned!
Mallory says
They are not as hard as they look. If I had to recommend one tip, it would be to work with cold dough. It is so much easier to handle.
Kelly @ Trial and Eater says
Your pictures make me want to reach through my screen and eat this NOW! So delicious looking! This will be a great way to use all the cherries I just bought 🙂
Mallory says
Awww, Thanks Kelly. Enjoy those cherries and have a great weekend.
Michelle @ A Dish of Daily Life says
Those look fabulous! I never really cook with cherries…I need to start. NOW. With this recipe! 🙂 Pinning!
Mallory says
Thanks for stopping by Michelle. Enjoy those cherries.
Winnie says
What an amazing tart !!
I love tarts, I definitely love cherries, but never had such a tart
My mouth is watering now…..
Mallory says
Thanks, Winnie. They’re super easy to make if you need a bit more convincing! 😉
Beverly says
Wow, these look so yummy. Cherries are such a great fruit. Love them.
Bev
Mallory says
Thanks, Bev.
Stefanie says
I made these last night and they were amazing!! I cut the recipe in half and it worked great! I also found I only had half the needed shortening so subbed in half butter and it was so flaky!!! Pitted my cherries with my Wilton 1M tip… Worked amazing!! Wonderful recipe!!!
Mallory says
I’m glad you enjoyed them, Stefanie. Thanks for sharing your experiences. Awesome tip on how to pit the cherries too!
Jill says
These looks so delicious. I love that you made them individual-sized. Pinned!
Mallory says
Thanks, Jill.
Tiffany says
I lvoe all things cherry and this definitely looks like it would be delicious!
Karly says
So glad cherry season is here, these tarts look amazing! Thanks for linking up with What’s Cookin’ Wednesday!
Amy | Canary Street Crafts says
These are gorgeous!! I love cherries,,definitely going to give these a try!
angela says
Hi! Thanks so much for stopping by the Wednesday Roundup! This awesome post is being featured this week! Come on by and grab a featured button! I’ve also pinned this to our Link Party Pinterest board!
Mallory says
Thanks, Angela. That is so exciting!
Diana Zee says
Hi this looks amazing! Saw your link on the SITS girls. I don’t like to turn on my over in the summer but I would definitely turn it on for this.
Mallory says
Thanks, Diana!
Amy @ItsAMindfulLife says
This recipe looks great! Happy to share with my social media followers! Thank you!
Mallory says
Thanks, Amy!
Jill Bell says
So the beaten egg doesn’t go in with the cherries!! Too late, my daughter saw it under filling and in it went. We’ll see how that turns out. Lol
ETHERE says
I’m looking everywhere delicious recipes I’m lucky to find yours,
Archfeld says
Love the site…the like and share overlay is VERY distracting and covers FAR to much screen on a mobile device. Cheers…
Mary says
I appreciate the feedback. We’re working on ways to minimize that feature.
Caroline says
Great recipe. I recommend cutting the cherries in half, makes it easier to tuck everything in neatly. And I sprinkled them with some cinnamon sugar before putting them in the oven 😀
Mary says
I’m so glad you enjoyed the tarts, Caroline!
Yvonne the Non Baker says
These look so fabulous ! Unfortunately mine flopped. The dough collapsed towards the pan, not towards the filling. It was a huge mess. Additional instructions on how to form the dough might have been helpful. Thankfully I was able to salvage the filling. Then I made a new batch of dough and baked them in muffin tins. Taste is delicious.
Mary says
I’m glad to hear that you were able to make them work for you. I basically just fold the edge of the crust over the cherries, kind of pleating it around the edges.
Naydee says
What does 4 T of sugar means?
Rebecca Lindamood says
Hi Naydee- 4 T means 4 tablespoons. 🙂
McLean says
What do you use to grease the baking pan?
Mary says
I don’t typically grease the pan, but you can use a bit of butter if you’d like.